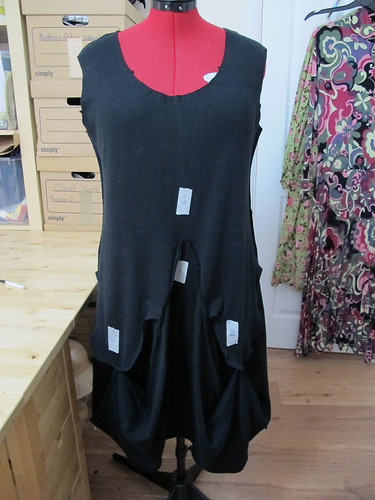
Sometimes I worry about myself. For lots of different reasons, it has to be said, but most often for the fact that my brain absolutely cannot and will not stick to the most basic version of any given idea. It always wants to escalate things until a project is impossibly ambitious.
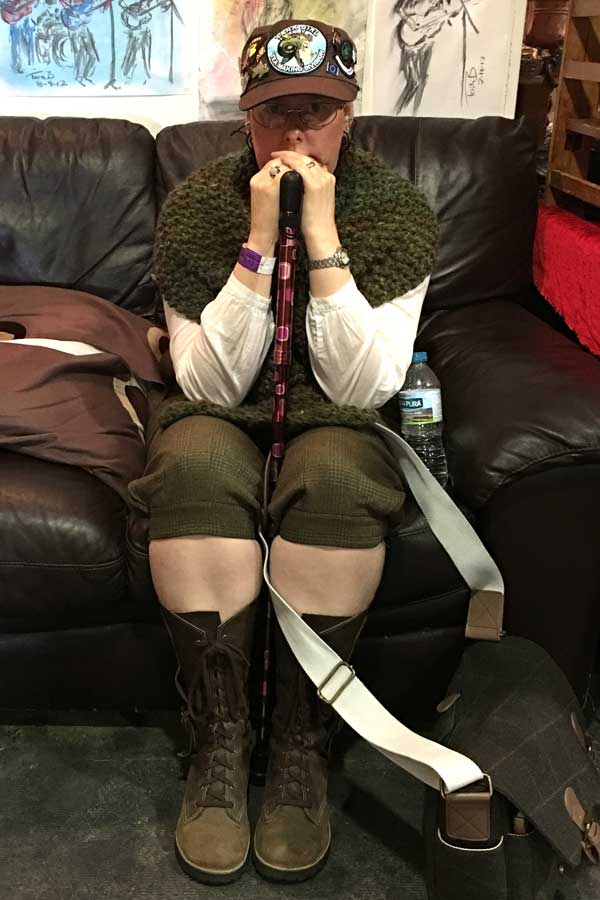
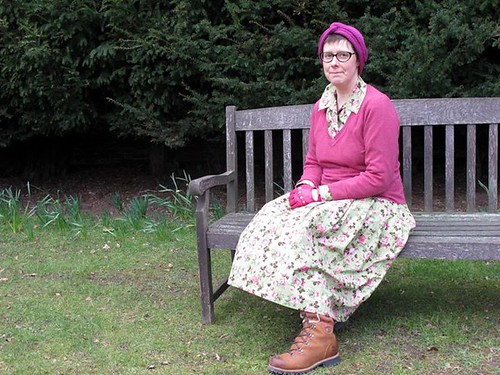
This is a frankly terrible picture of what passes for my current steampunk-ish outfit. Knee length tweed breeches (held up by braces which are hidden by my scarf), tall leather Faerysteps boots, a collarless pintucked shirt, and a cap that’s covered with badges. This outfit came about for two reasons.
One, I need to be comfortable. (See: comfy sofa, warm scarf, earplugs, walking stick, tired face. The concrete floor in that otherwise excellent venue did not go down well with the fibromyalgia. Not at all.)
Two, it’s common for a lot of steampunk imagery to be very upper-class-colonial-Victorian-explorer. That makes me feel a bit uncomfortable, and when a friend pointed out that you never see a lower-class “steampunk urchin” costume, I knew what I had to do.
My intended costume (I was going to say “planned”, but that’s a bit of a strong word at this stage) is going to be for a character who’s an in-the-field catcher of magical and/or mythical beasts. Think of a kind of a steampunk / Hellboy / Harry Potter / Fantastic Beasts / Ghostbusters crossover.
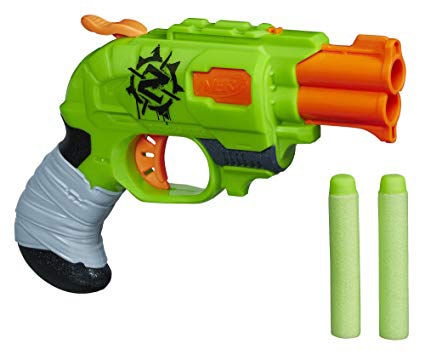
The first order of business was to buy a second-hand Nerf pistol from a friend. Nerf guns of all kinds are a common steampunk accessory, and I wanted a small one that Paul could transform for me into something that looks like a tranquilliser dart gun.
I have a pair of oversized black dungarees that I usually wear to do the gardening. So far, so good. I was going to bleach them and dye them brown to match my cap. I figure that it doesn’t matter if they come out a bit patchy, as they’re supposed to be working overalls. But then I thought that perhaps I should wear something that gave a bit more of a nod to a recognisable movie costume.
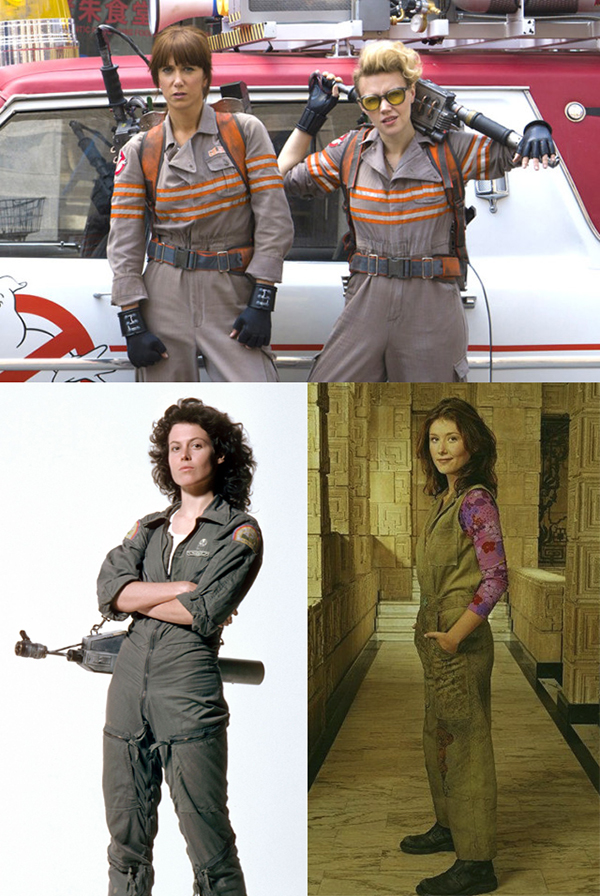
Left: Sigourney Weaver in Alien
Right: Jewel Staite in Firefly
A brief online search later, and that turns out to mean boiler suits or flight suits rather than dungarees.
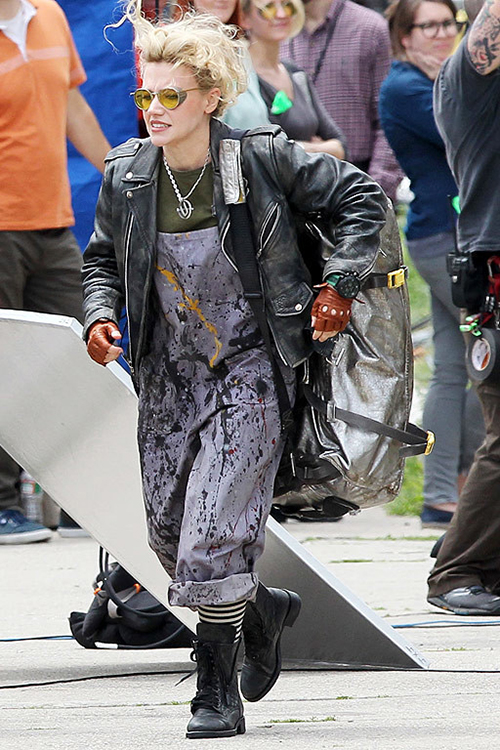
(Although, to be honest, this photo of Kate McKinnon in Ghostbusters isn’t so much a costume as a bunch of stuff that I could pull out of my wardrobe right now. I love it when that happens.)
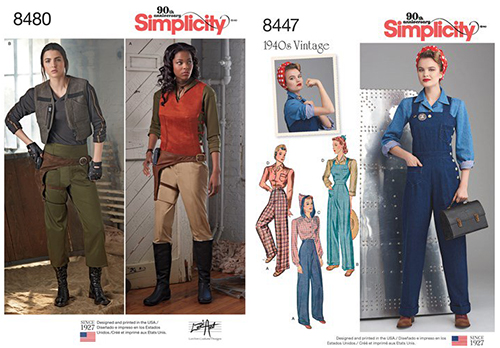
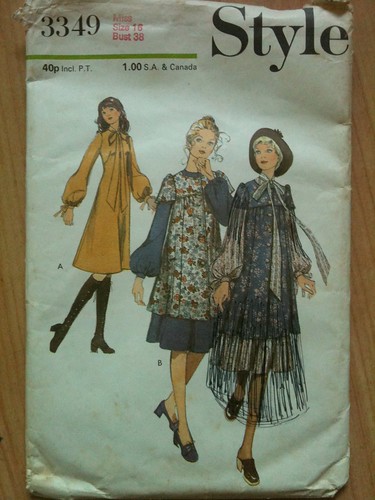
It turns out that boiler suits are EXPENSIVE. (Health & Safety, and all that.) So I thought that I should maybe just have a little look at some jumpsuit sewing patterns. I knew that Simplicity had a Firefly/Serenity pattern (now being sold as Rogue One), and some 1940s reproduction dungarees with a hooded blouse that I definitely don’t need but am simultaneously looking for an excuse to make.
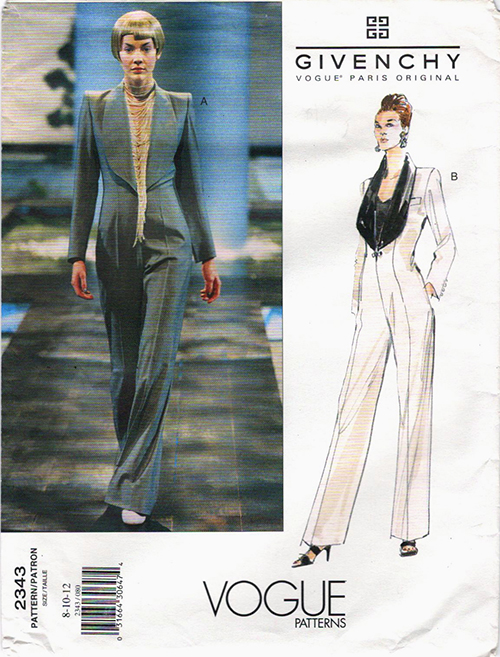
(Speaking of things I definitely don’t need… while I was browsing jumpsuit patterns, this absolutely incredible Vogue Paris Original came up. It’s by Alexander McQueen for Givenchy, published in 1999, and currently for sale on Etsy for £142.62. Patternvault has a blog post about it.)
I haven’t yet made any form of final decision, except for thinking that paying around £12 to chuck some Dylon pre-dye and Espresso Brown at my existing dungarees is going to be a lot cheaper, quicker and easier than buying a sewing pattern and fabric and starting from scratch. And it’s definitely cheaper than any genuinely utilitarian, as opposed to fashionable and therefore largely pocketless, jumpsuit that I can currently find online.
And then, of course, there’s the issue of accessories and props. What does an in-the-field catcher of magical and/or mythical beasts need to carry with them? I’ll have the Nerf gun, I already have a sonic screwdriver (obviously), and I’ve seen a miniature fire extinguisher (water pistol) that I’m definitely going to have to hang from a belt loop. (Mythical creatures might breathe flames at you, so a miniature fire extinguisher seems like a sensible thing to have.) I’ve been looking at small vintage suitcases, thinking I could maybe put together something Newt Scamander would be proud of… but I suspect a backpack of some sort would be a bit more practical. And of course it will need to double as an actual handbag, given the ridiculous amount of Stuff that I carry around with me at all times.
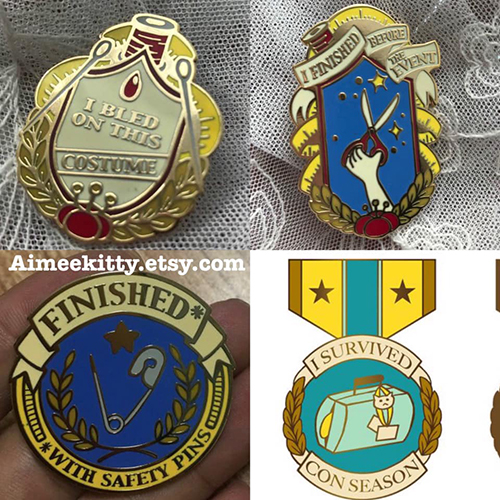
While I was wittering on about all of this over on Facebook, a friend spotted these enamel pin badges which are frankly PERFECT. They’re by aimeekitty on Etsy, and although I’ve never (yet) had to resort to “finished with hot glue”, I have definitely made costumes that have required blood sacrifice – or that I’ve been sewing right up until the moment we got into the car to travel to the event! I don’t currently have a particular event in mind for this costume, but I’m pretty sure that one or two of these pins are going to apply.