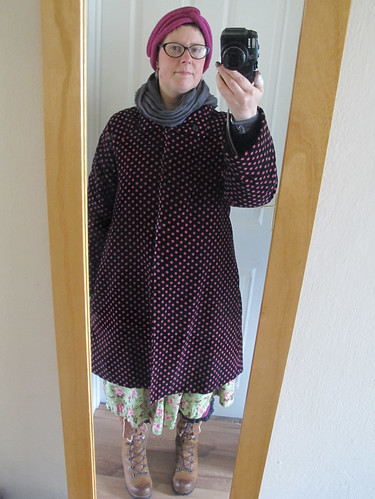
You may have spotted that I didn’t post very many photos from my Me-Made May escapades. This is partly because I mostly look like some kind of strange triangular bag lady (I like layers, and most of my clothes are comfortable-shaped), and partly because it turns out that I only wear about four outfits, over and over again, with very minor variations. How boring!
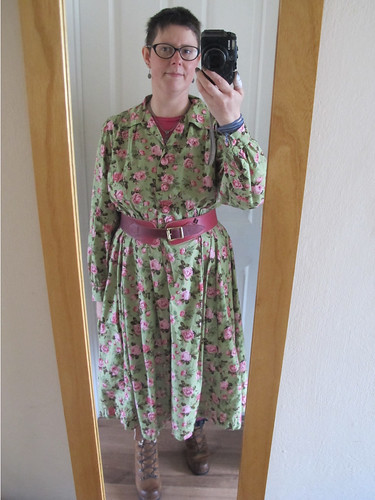
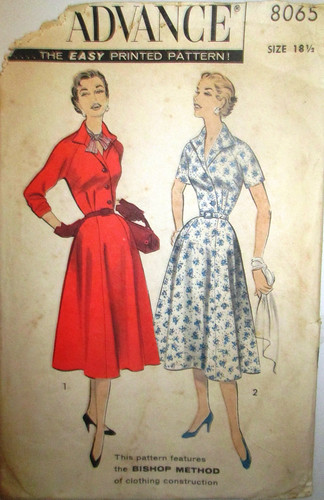
Towards the end of the month I made a last-ditch effort to wear some of the smarter clothes in my wardrobe, only to discover that when I put them on… well, suddenly they’re not so smart any more. This dress is now very firmly on the “waiting to be chopped up and turned into something that doesn’t look like a giant floral sack” pile. There’s just no point in wasting time and fabric making clothes that require waist shaping in order to look nice, when waist shaping isn’t something that I actually have myself. Although, having said that, my other vintage dress (also made from an Advance size 18½ pattern without alterations) fitted really well and looked lovely!
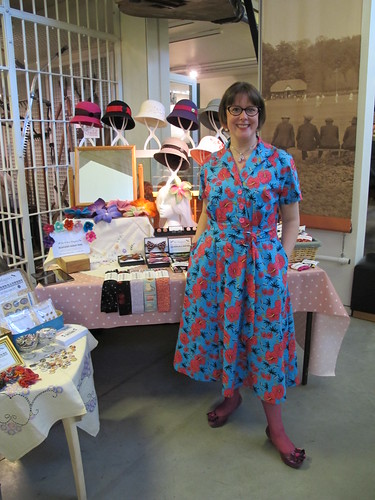
See? I still don’t have a waist, but the dress looks smart, not like a huge great cushion’s attacked me while I wasn’t looking. I think this is partly down to the fact that this dress has a smooth skirt rather than miles of pleats. (Also: not a selfie, vintage-style foundation garments, not layered with t-shirts and bloomers and giant boots on account of it being freezing at work.)
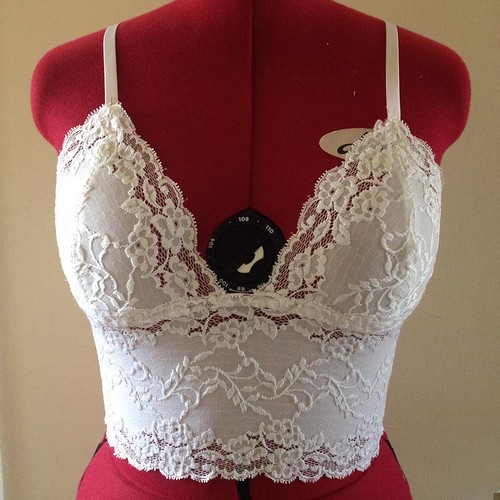
Sadly, even if I did have the budget to wear lovely things from Kiss Me Deadly every day, the fibromyalgia simply wouldn’t allow it. But, the whole Me-Made May experiment did reveal that I am very much lacking in the Me-Made underwear department – despite the fact that I spent plenty of time and money on the London College of Fashion’s Structured Lingerie course back in 2011. I bought this lace when I came back, in a fit of enthusiasm, and it’s been untouched in a box ever since, along with a metre and a half of pink, and four metres of a prettier-than-it-sounds grey. This particular lingerie is about as unstructured as you can get (no wires, no fastenings, nothing), but I used a lot of the skills I learned on the course to make it. The pattern itself is from Sewing Lingerie, a Singer reference book, where it’s described as a “sleep bra”.
The wide stretch lace that I used to make this is actually really affordable, and comes in lots of different colours and patterns. If this one (and the pink one I’ve just finished, and the two or three grey ones I’m going to make next) turn out to be comfortable, I can feel a drawer full of these coming on before Me-Made May next year!