Sew, Knit N Stretch

1960s Sew Knit N Stretch 228

I’ve been collecting these Sew-Knit-N-Stretch (the precursor to Kwik Sew) patterns for about a year. These particular designs date from 1969 and 1970, so I can’t really think of them as being “vintage” just yet. Okay, yes, they’re from before I was born, but only by three or four years. And that’s NOT OLD. Definitely not.

The peculiar thing about these patterns is that they come without any kind of size reference whatsoever. Yes, they say “S-M-L-XL’ on the front, but there is absolutely no indication, anywhere, as to what those sizes might mean. Not on the envelope, not in the instructions, not on the pattern pieces. Not anywhere.

Sew-Knit-N-Stretch

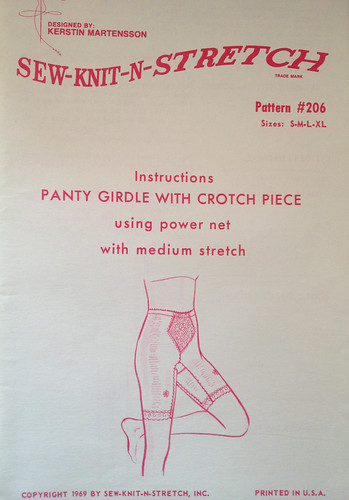
I made an XL in this one, a complete guess, and thankfully it turned out quite well. Okay, they have been relegated to pyjamas, but I need to do a bit of fabric thinking before I make another pair. The pattern calls for power net (as they’re supposed to be a “control” garment), I went for cotton jersey… but I think perhaps some kind of sportswear fabric might turn out to be a good in-between answer.

Sew-Knit-N-Stretch

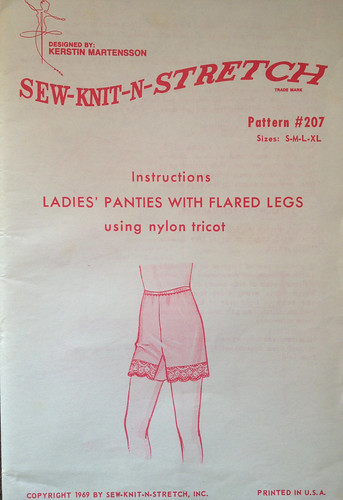
You saw these as part of Me-Made May – and yes, they’re now pyjamas too. I made a size XL, thinking they’d be nice and comfy, and I think they will be in a woven fabric. In a knit though, I can definitely go down to a size L without any trouble at all.

Sew-Knit-N-Stretch

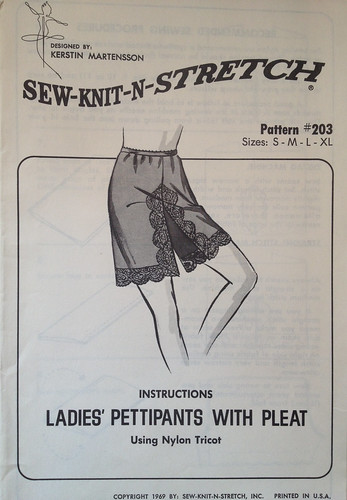
This pair I haven’t made yet, but I think I’m going to start by tracing off the size L this time, and hoping that the sizing is the same as for the other patterns!

These, and the ones above, are designed for nylon tricot. Personally I’m not a huge fan of nylon – it creates static electricity, it clings to your legs, and it’s hot and sticky in the summer. Hot and sticky is precisely what I’m trying to avoid by making this type of underwear, so I think a different fabric choice is going to be required. It needs to be something slippery, so that cotton dresses move nicely over the top, but not something that’s going to be hot or static or climb up your legs in an annoying way.

I think I need to stalk Scruffy Badger’s blog – she makes some lovely running shorts in sportswear and performance fabrics, so I think there might be inspiration to be had over there!
Sew-Knit-N-Stretch

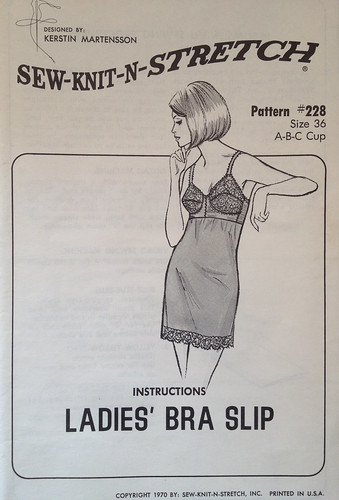
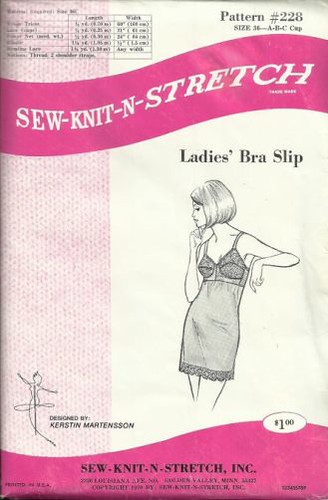
This one is the weirdest of all, in that it turned out to (mostly) fit first time! I made a 36C, assuming it would be too big, and I could then alter it down to fit. In an off-the-shelf bra I wear a 36A, or a 34B, or a 32D, depending on what mood the manufacturer was in on the day they decided to pluck the imaginary sizes out of thin air. Surprisingly the 36C turned out to be almost spot on… although the more I wear the slip, the more I wonder whether I should try and find a copy in a 38 to see whether that would fit even better.

Most UK bras are sized using the frankly bizarre “+4” system – you measure around your ribcage to find your underbust measurement, you add four inches to this measurement for no readily apparent reason (three inches if it’s an odd number, obviously), and that’s your bra size. You then measure around the fullest part of your bust, and work out the difference between the under bust and over bust measurements to determine which cup size you need. Then you go to a shop, take every bra in that size into a changing room, and weep gently as not a single one of them turns out to fit you, and they’re all wrong in a different way. Or is that just me?

Anyway, I wonder whether, being a dressmaking pattern, this bra slip is actually given as a dress size, rather than a bra size. Dress patterns are sized according to your over bust measurement, and most of the vintage patterns I buy are a size 38 or 39″ bust. (This could be anything from a size 14 to a size 20½, depending on which decade the pattern is from.)

Actually, a quick search has turned out to reveal that the bra slip is only available up to a size 36, but what looks like the identical bra pattern without the slip part is available in a 38. Perhaps I can cobble the two together and see what happens.

Improving on Me-Made May

28/5/14

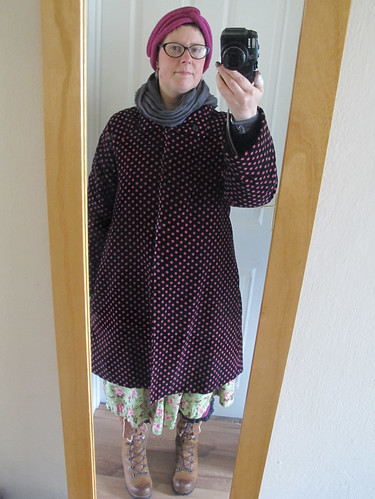
You may have spotted that I didn’t post very many photos from my Me-Made May escapades. This is partly because I mostly look like some kind of strange triangular bag lady (I like layers, and most of my clothes are comfortable-shaped), and partly because it turns out that I only wear about four outfits, over and over again, with very minor variations. How boring!

28/5/14

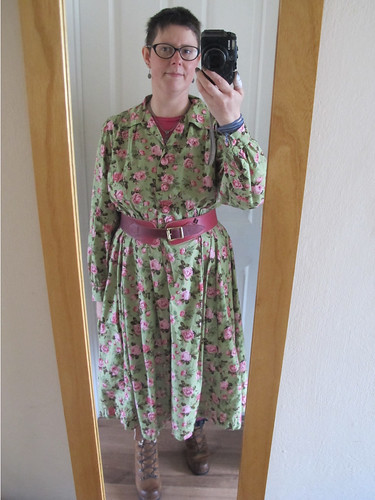
Towards the end of the month I made a last-ditch effort to wear some of the smarter clothes in my wardrobe, only to discover that when I put them on… well, suddenly they’re not so smart any more. This dress is now very firmly on the “waiting to be chopped up and turned into something that doesn’t look like a giant floral sack” pile. There’s just no point in wasting time and fabric making clothes that require waist shaping in order to look nice, when waist shaping isn’t something that I actually have myself. Although, having said that, my other vintage dress (also made from an Advance size 18½ pattern without alterations) fitted really well and looked lovely!

17/5/14

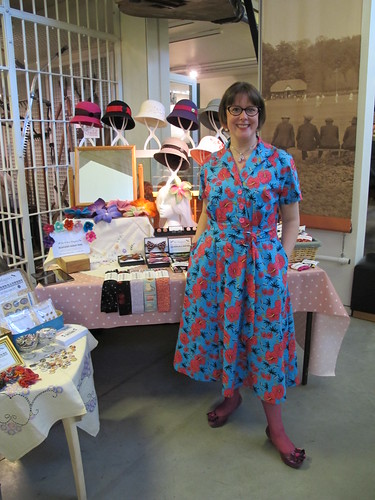
See? I still don’t have a waist, but the dress looks smart, not like a huge great cushion’s attacked me while I wasn’t looking. I think this is partly down to the fact that this dress has a smooth skirt rather than miles of pleats. (Also: not a selfie, vintage-style foundation garments, not layered with t-shirts and bloomers and giant boots on account of it being freezing at work.)

Lace crop top

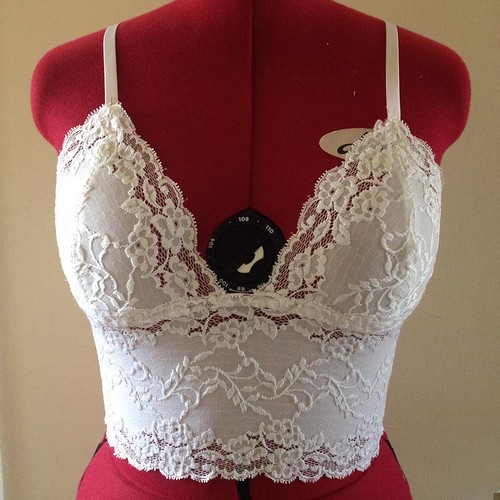
Sadly, even if I did have the budget to wear lovely things from Kiss Me Deadly every day, the fibromyalgia simply wouldn’t allow it. But, the whole Me-Made May experiment did reveal that I am very much lacking in the Me-Made underwear department – despite the fact that I spent plenty of time and money on the London College of Fashion’s Structured Lingerie course back in 2011. I bought this lace when I came back, in a fit of enthusiasm, and it’s been untouched in a box ever since, along with a metre and a half of pink, and four metres of a prettier-than-it-sounds grey. This particular lingerie is about as unstructured as you can get (no wires, no fastenings, nothing), but I used a lot of the skills I learned on the course to make it. The pattern itself is from Sewing Lingerie, a Singer reference book, where it’s described as a “sleep bra”.

The wide stretch lace that I used to make this is actually really affordable, and comes in lots of different colours and patterns. If this one (and the pink one I’ve just finished, and the two or three grey ones I’m going to make next) turn out to be comfortable, I can feel a drawer full of these coming on before Me-Made May next year!

Structured Lingerie (Part Four)

Structured Lingerie

This is the fourth and final bra from the Structured Lingerie short course at the London College of Fashion.

It’s made from a pattern that I drafted from one of my own bras, which sadly had to be sacrificed for the occasion. Each of us had to unpick a bra in our own size, writing down the order that we’d taken it apart so that we’d know how to assemble the new one.

I got a little bit too ambitious with mine, making a few alterations to the style of the original bra. This turned out to mean that some mistakes crept in along the way, so this bra doesn’t actually fit as well as the other three.

My main mistake was to take my pattern from the foam cup rather than the fabric that had been covering it. This seemed like a good idea at the time, as I could make a more accurate pattern from the stable foam than from the stretchy fabric. Unfortunately I forgot to add the seam allowance to the bottom of the lower cup, which makes the bra smaller than it ought to be. This was compounded by an error in the boning – I hadn’t realised that the boning channels we were using at the College were quite a bit wider than the ones on the original bra. This took an extra few millimetres out of the bottom cup, making it even smaller!

Still, I have my pattern, I know what changes I need to make, and I think I have just enough fabric left over from the course to have another try.

All in all, I had an absolutely brilliant week!
The facilities at the college were absolutely excellent (I’m coveting an industrial bar-tacking machine), the tutor was very experienced and helpful, and I learned a lot of things that I can now put into practice as I continue in my mission to make fiddly things from awkward fabrics.

You can actually do an entire degree in underwear if you want to, but I’m currently extremely tempted by another of their short courses. The Lingerie Workshop is another full week, but this time concentrating on “the skills of traditional couture lingerie, especially the feminine 1930s bias-cut styles and other similar themes and updating these into 21st-century lingerie.”

Doesn’t that sound absolutely perfect?

Structured Lingerie (Part Three)

Structured Lingerie

This is the third bra from the Structured Lingerie short course at the London College of Fashion.

As you can see, this one is a much fuller style than the previous two. Despite also being an “industry standard” 34B, the cups were slightly roomier than the other styles.
This bra isn’t underwired – instead it has a “cradle” for support, which goes underneath and in between the cups. (The underwired styles have a little “bridge” piece that sits in between the cups.) The cups are made in two pieces which, like the first bra, allows for a scalloped or lacy edge at the top. The cradle and the the lower part of the cups are lined with stabilised nylon for reinforcement.
The wings are much deeper on this bra than the others, and this actually makes it really comfortable to wear. Despite its somewhat old-fashioned styling, having tried them all on, this is actually my favourite of all the bras I made on the course.

Structured Lingerie (Part Two)

Structured Lingerie

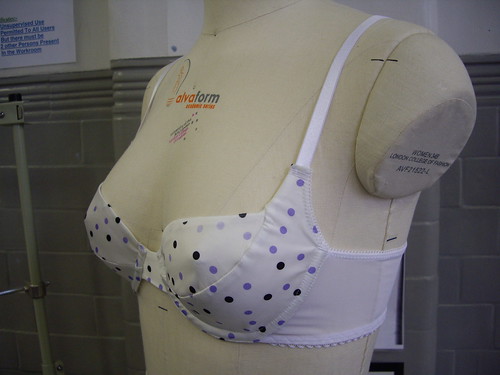
This is bra number two from the Structured Lingerie short course at the London College of Fashion.

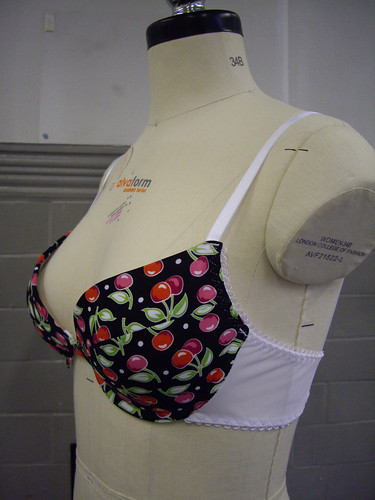
The cups on this one are made from foam, a couple of millimetres thick, to make something resembling a t-shirt bra. You can’t easily buy the foam moulded cups that these are made from (unless you’re Marks & Spencer and want to order thousands at a time), so we learned how to join the foam pieces together without creating bulky seams, and then we covered them with a stretch fabric.

(This photo makes it look as though I’ve sewn the cherry fabric upside down, but I haven’t, honest!)

The wings on all the bras (that’s the bit that comes out from the sides and turns into the strap at the back) are made from plain white powernet. The elastic’s attached with a three-step zig-zag which I conveniently happen to have on my own sewing machine, which is nice, as that’s one of the things that makes a bra look more professionally made. This one just needs a little bow where the straps join to the cups, and it almost looks like the real thing!

Structured Lingerie (Part One)

Structured Lingerie

At the beginning of April I went to London for a week, to do the Structured Lingerie short course at the London College of Fashion. The aim of the week was to make three bras of differing styles, to an industry-standard size (34B). After that there would be the opportunity to take apart a bra of your own size, draft a pattern from it, and make a new one!

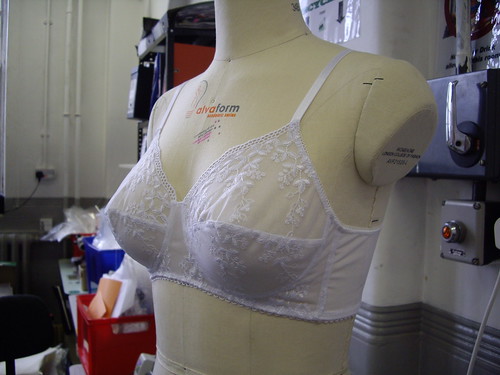
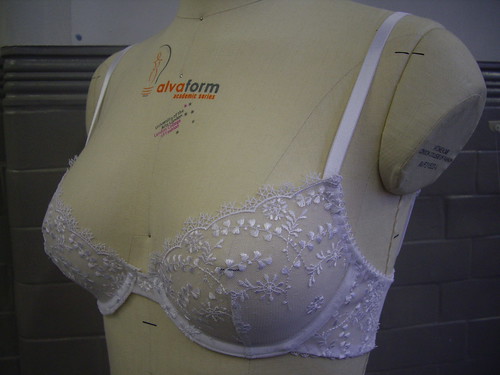
This is the first bra of the week – a lace underwired bra. Each cup is made from a single piece of lace, and darted to create shape. This means you can use fabrics with a scalloped edge, as you’re cutting a straight piece at the top of the cup. Pretty, isn’t it?

Ayten Gasson & Kiss Me Deadly


Picture © Ayten Gasson

Remember the skull & rose print bra that I made last month? Well, I wore it last week. It was certainly a better fit than the first bra I made, but it still wasn’t all that comfortable.

I have a few ideas regarding underwires, and I thought it might fit better if I gave the bra a much wider band. So I did a search for “longline bra” thinking that even if all the results were frumpy and horrible, I might get some construction ideas that I could translate into pretty fabrics.

You can imagine my surprise then, when one of the first pictures that came up was the one above! Isn’t it lovely? It’s part of the Lady M range by Ayten Gasson. Ayten specialises in vintage-inspired lingerie, all of which is hand made in the UK from silk and Nottingham lace.


Image © Kiss Me Deadly

Another designer that features all manner of pretty things is Kiss Me Deadly. Vintage-inspired again, and with a gorgeous range of shapewear. Most of their items are limited edition, so if you see something you like you need to snap it up quickly!

Sadly for me the longline bra that matches this gorgeous girdle is sold out already, otherwise I’d have gone for the whole set!

Never mind making my own bras, I think I might need to go shopping…