Sea Glass & Silver

Sea Glass & Silver

Whenever I can, I like to go on courses to learn something new. I’m very lucky that my local high school has a Community Arts programme, which runs evening and weekend classes and a Summer School. For several years I wasn’t able to attend the Summer School (the summer holidays being one of my busiest times at work), but this year I was really pleased to be able to go back. I’ve learnt lots of different things there, from ceramics to watercolours, but the thing I’ve enjoyed doing most is making silver jewellery. This year’s Sea Glass & Silver course with Cathy Newell Price offered a range of techniques that I was really interested in learning.

Sea Glass & Silver

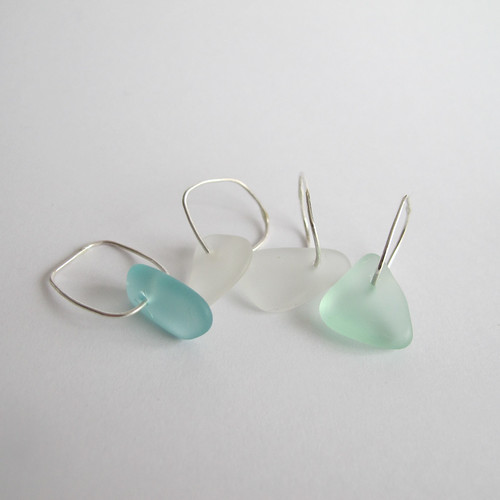
First up – drilling holes in sea glass, using that exciting combination of electricity and water! I managed to drill through four pieces, with only one (on the left) cracking slightly where I hadn’t lined up the hole very well. We also learnt how to solder the silver rings in place, whilst being very careful not to shatter the glass. I’ve never been particularly good at soldering, but working on something this fiddly definitely forced me to improve!

Sea Glass & Silver

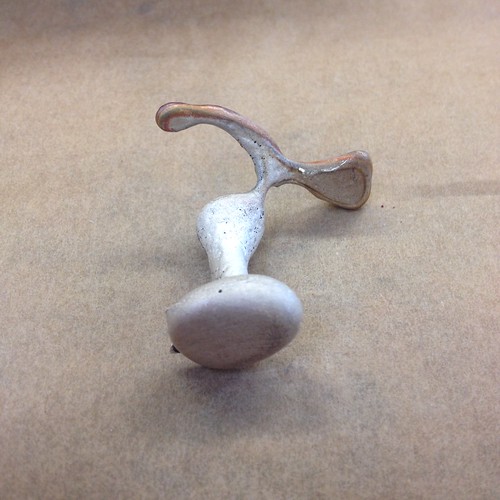
One technique that I was particularly excited about was learning to cast objects using a special type of sand called delft clay. I brought in a nice smooth pebble to cast, which in retrospect was a bit boring. I was very impressed by the person who decided to cast an almond, which came out wonderfully! In case you’re wondering, the pebble part is at the bottom – the sticky-out bits are the sprue (where the molten silver pours into the cast), and a splashy dribbly bit where I was a bit wobbly with the pouring.

Sea Glass & Silver

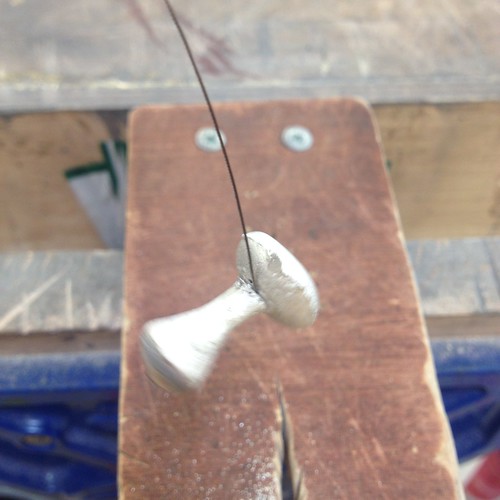
Once the cast is done, then comes the hard part – sawing off the sprue and filing off all the wonky bits where you didn’t quite line up the two halves of the mould correctly. (There’s less of that as you get better at the technique, obviously.) I have to say that I wouldn’t recommend snapping a piercing saw blade half way through your sprue – it’s really difficult to get out again. Oops.

Sea Glass & Silver

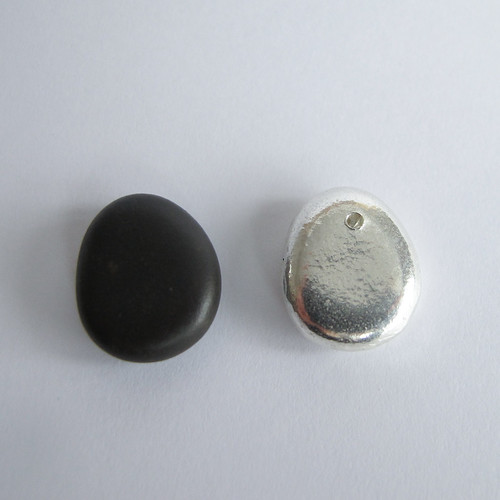
But here it is, all polished and lovely, alongside the original pebble used to make the mould. I like that you can see the very fine texture on the silver pebble, that’s barely visible on the original one. The little crater at the top is where I was trying to drill it through so that I could hang it as a pendant. Sadly, by the end of the course we’d collectively worn out all of the drill bits, so I had to give up! I’ve got a piece of silver wire set aside though, and I’ll use that to cover up the hole and make a bail to hang it from instead.

Sea Glass & Silver

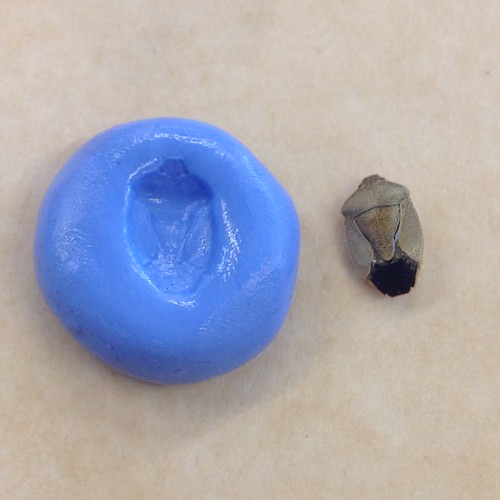
Next up – precious metal clay! I’ve used PMC before, by rolling out flat pieces and stamping them with an impression. I’d never used a mould to make a piece though, so that was fun to try. I brought in a shield bug that I’d found sadly expired in the greenhouse, but again, it perhaps wasn’t the best choice for this technique. Looking at everybody else’s shells, buttons and seed heads, I should have gone for something with more depth and texture for a better result. I also found the clay itself quite difficult to work with – it dried out very quickly, and started to crack.

Sea Glass & Silver

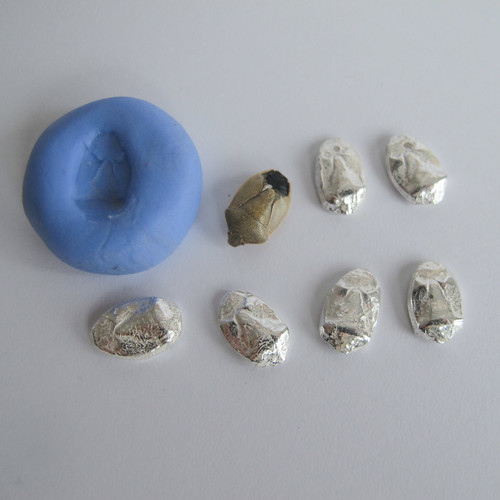
I must confess I was disappointed with my silver clay shield bugs right up until the moment they came out of the tumbler at the end of the day. As soon as they were polished up you could see the details more clearly – although some of the texture is from the drying clay, not from the original beetle. The top two have been drilled, and I’ll add ear wires to those at some point. I’m not sure yet what I’ll do with the other four – suggestions are very welcome!

Sea Glass & Silver

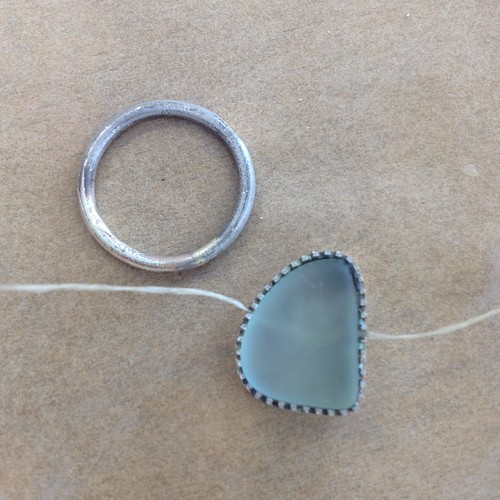
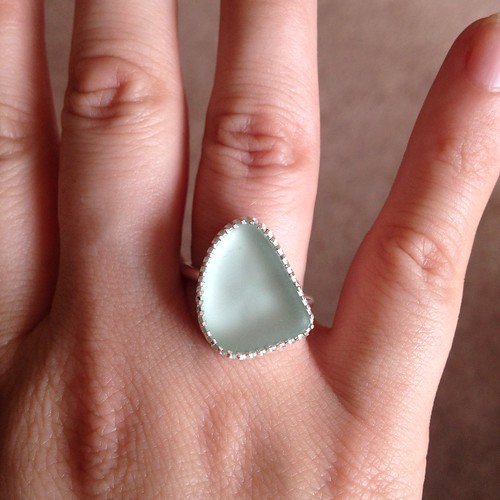
Towards the end of the second day, I started work on setting a piece of sea glass to mount onto a ring. I’d taken the little piece of gallery wire with me “just in case”, and was really pleased to have the opportunity to use it. I had to work at lightning speed to get it finished, and made a potentially catastrophic soldering error (using the same grade of solder for two joins very close together), but thankfully I got away with it!

Sea Glass & Silver

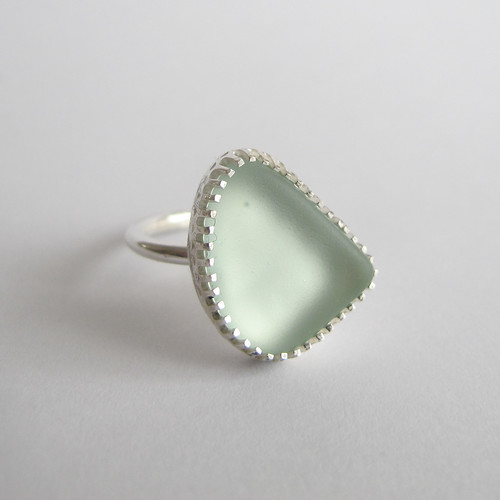
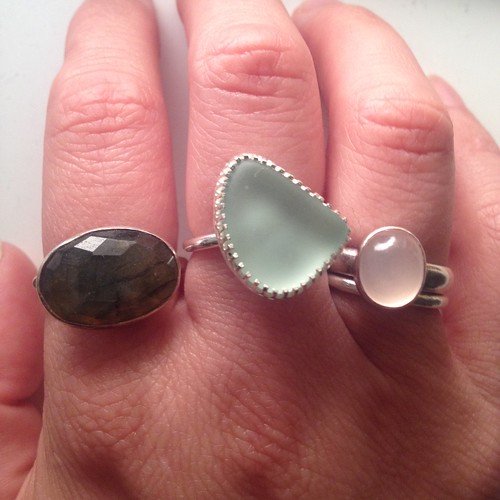
And here it is! Isn’t it pretty? I’m really, really pleased with how it’s come out. Yes, the finishing leaves a lot to be desired – there’s lumpy solder, lots of file marks, and a bit of fire stain that I didn’t have time to polish out. And the angle of the setting isn’t even slightly what I’d intended – the ring moved as I was soldering, and I didn’t have the time (or the skills, let’s face it!) to try and correct it.

Sea Glass & Silver

But, it looks nice on the hand at this jaunty angle, and nobody but us knows that I didn’t set it this way on purpose!

I have to say that I really, really enjoyed this course. It was great to come home with such a quantity and variety of work at the end of just two days, and as always it was fascinating to see what everybody else had put together using exactly the same materials and techniques.

Having the opportunity to try out the sand casting was brilliant, as that’s something you’d never be able to achieve at home with a domestic blowtorch – you simply wouldn’t be able to generate enough heat. I’ve decided that the more I try and use PMC, the less I like it, so I’ve decided to sell my hoarded metal clay stash so that I can use the money to buy some silver sheet and wire. That way I can concentrate on doing the thing I enjoyed most – setting stones.

Now I need to look out for more courses featuring different stone-setting techniques, I think. There’s one on Saturday at South Hill Park, on tube setting, which I hope will come around again, and one of my fellow students mentioned a gypsy setting course that she’d been to, I think in Oxford. Ideally I’d like to be able to go back to Cathy’s evening classes, but at the moment my budget won’t allow a whole term’s worth of sessions plus materials. Time to clear a suitable space, and be brave about firing up the blowtorch at home, perhaps!

A Calming Walk

13/09/2013

This morning I was feeling particularly fibromyalgy (of course it’s a real word), and didn’t have the attention span or strength of body to carry on with my sewing. I did a few bits and bobs on the computer, but was gradually becoming more and more cross with myself for being ill. So it seemed sensible to get out, and go for a walk.

CAUTION: There is one picture of a spider in this post, a bit further down.

13/09/2013

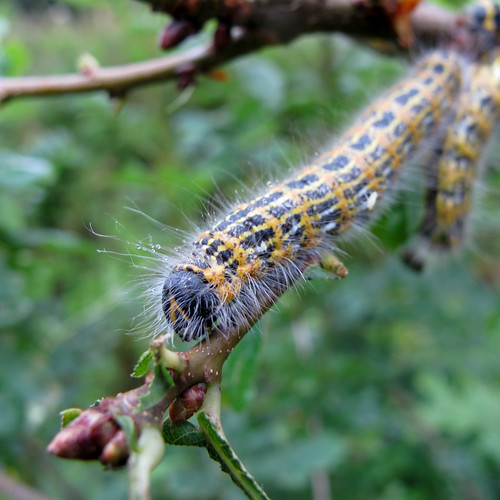
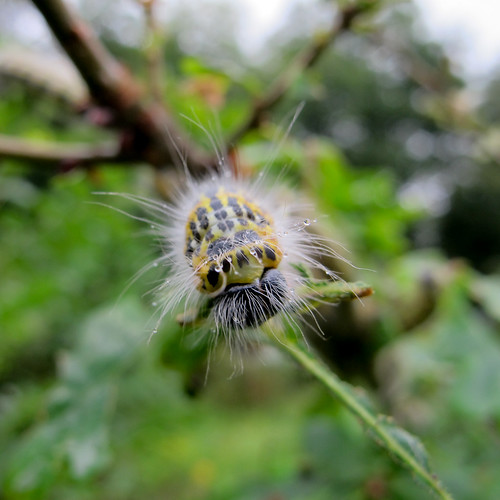
It was a very slow walk (half a mile in an hour and a half), but I had to keep stopping to look at small things. This fuzzy fellow is the caterpillar of the Buff Tip Moth, and he had a lot of friends who were steadily devouring a very small oak tree.

13/09/2013

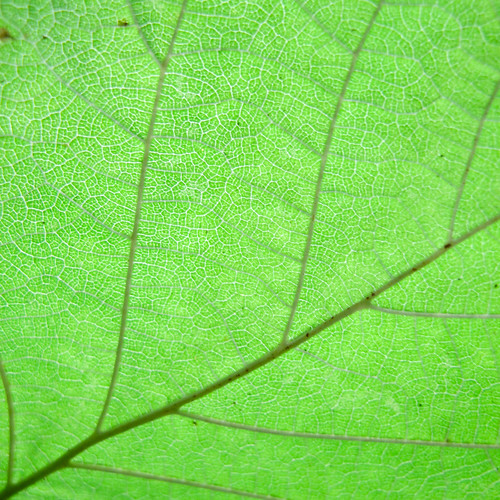
This is not an oak leaf (unhelpfully, I can’t remember what it is now), but I love the way you can see the cell structure from underneath. This is exactly the sort of thing I want to look at with my microscope, although I haven’t yet got around to either collecting a bunch of stuff to look at, or dragging my netbook around the lake with me.

13/09/2013

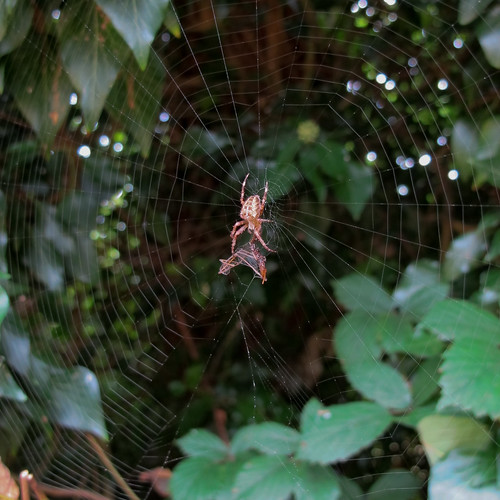
I don’t know what type of spider this is, because I’m sufficiently arachnophobic that I don’t want to have to look up lots of different pictures of spiders to find out. If anyone could tell me, that would be lovely! Despite the slightly gruesome nature of the spider wrapping up its lunch (and the scariness of the spider itself), I thought this was rather a magical picture, with the web framed by leaves and little flecks of light twinkling through from the background.

13/09/2013

One problem I am finding with this camera (Canon Powershot G12) is its general unwillingness to focus where I want it to unless it’s set entirely to automatic. Even then, it sometimes takes a bit of fiddling about. I usually take photos in Aperture Priority mode, because I like shots like this with a very shallow depth of field. Trying to combine that with macro shots though, argh, there were times when I could cheerfully have thrown the camera into the lake. And don’t even talk to me about the manual focus – that was even worse than repeatedly half-pressing the button and hoping for the best! So the vast majority of these photos were taken with the camera set to fully automatic, because I simply didn’t have the patience to fiddle.

13/09/2013

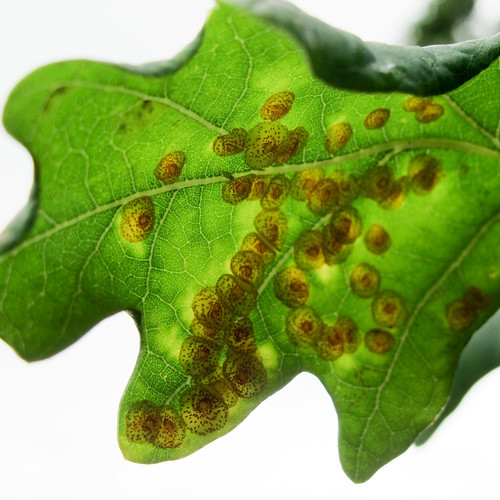
Once again, more unidentified insects. I saw yellow spots all over the top of the leaf, and pointed the camera underneath to see what I could find. This is another one where I should have brought the leaf home with me, to check it out under the microscope! But I didn’t really want whatever those insects are to hatch out in my Shed. Or die because I’d taken the leaf off the tree.

13/09/2013

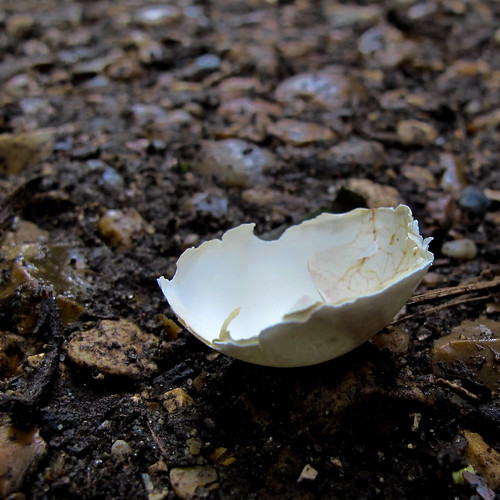
I think this is a fragment of a pigeon’s egg. It’s very common to find them on the paths around the lake. There are A LOT of wood pigeons in the woods (unsurprisingly!), and as well as magpies and other predators finding the eggs tasty, pigeons will also push eggs out of the nest if they’re infertile. I like the way you can see the delicate cracks showing up in the membrane of this little piece.

13/09/2013

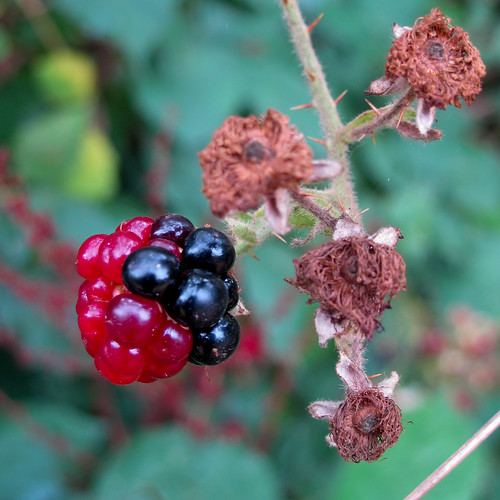
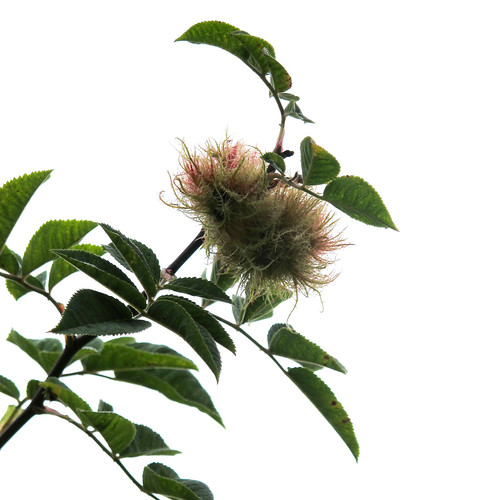
And finally, more insect-related weirdness. The fluffy spiky things on this dog rose are moss galls, or “Robin’s pincushions”. They’re caused by a wasp laying eggs into the bud of the rose, which causes the cellular structure of the plant to change. The same thing happens to oak trees, and I know that oak galls can be used for dyeing. Apparently you can use these rose galls too, after they’ve dried out and the wasp larvae have vacated them. Not sure I’d fancy trying to collect them though – all the galls on this plant were a very long way up!

I know the weather’s turned a bit wet, but think I need to make it my mission to get outdoors and take a lot more photos. I’ve neglected my camera a lot this year, mainly thanks to spending more time at work since the spring, and then being too tired or too busy to go wandering around in the woods. I’d also like to get some actual prints made, so that I can stick them into sketchbooks and use them as inspiration for other work. Time to get uploading to Photobox I think, unless anybody’s got a recommendation for somewhere different?

Walk in the woods

Walk in the woods

Yesterday evening I received a text from Sarah at Skycarrots, asking whether we’d like to go for a walk. Of course the answer was yes, so the three of us grabbed our cameras and wandered into the woods.

Walk in the woods

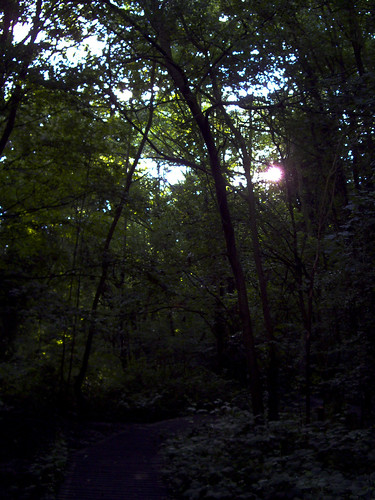
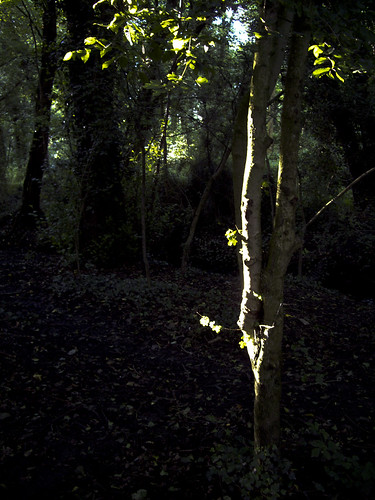
The light was absolutely beautiful (when the sun tentatively appeared), and I found lots of places that made me think of ideas for my doll-related project.

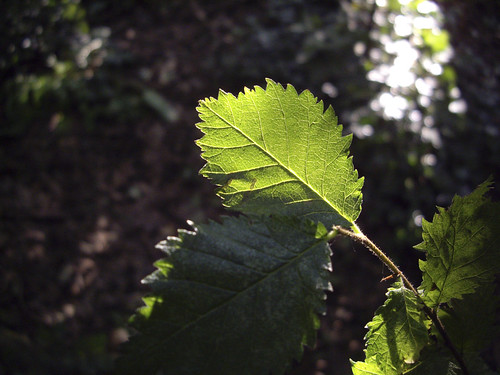
My little camera behaved remarkably well, considering how much it dislikes working in low light. The photo below hasn’t been edited at all, and I’m really pleased with it.

(The two above have been edited in Lightroom, to make the light in the pictures a little closer to what we could see in real life.)

Walk in the woods

We also walked along to where the blackthorn trees are, and spotted lots of other fruit along the way. Blackberries, plums, cherries and sumac (a new one to me) are going to be plentiful this year, by the looks of things.

24/06/2012

I have so many books now about foraging for edible and medicinal plants. I must start to keep a notebook of where these things are in our local area, so I can recognise them when I don’t have Sarah around to identify everything for me!

Shiny Shoes!

Conker Shoes

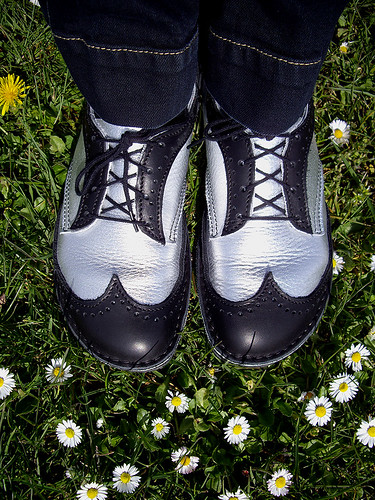
Yay, my shiny new Conker shoes have arrived!

They were delivered on Friday, while I was out at work. Paul very kindly went to pick them up from the sorting office for me while I was out at work on Saturday. He was somewhat startled to find that the postman knew me, and was not at all surprised to discover that the parcel contained shoes! He used to drive the delivery van for our area, so he got to know me very well in the days when I was collecting unusual Dr Martens from Ebay. Sometimes he used to wait on the doorstep while I opened my parcels, so he could see my unusual choice of shoes. I think he’d have been impressed by these!

I wore the shoes to work on Sunday, and they’re lovely! Not quite enough room for orthotics and handknit socks both at once, which tells me I should probably have ordered a 6F rather than a 6E. Conker offer amazing customer service and I could have sent them back to be stretched a little bit, but being the impatient sort I couldn’t resist wearing them straight away.

Conker Shoes

The lovely people at Conker are probably going to cry when they see this picture. I don’t think they’d take them back in this state! Yes, I knew it had been raining, and I should have put on a big pair of boots. But, new shoes!
(I know, I know. And yes, I have cleaned them now that the mud’s dry.)


Photo © Sarah Wainwright

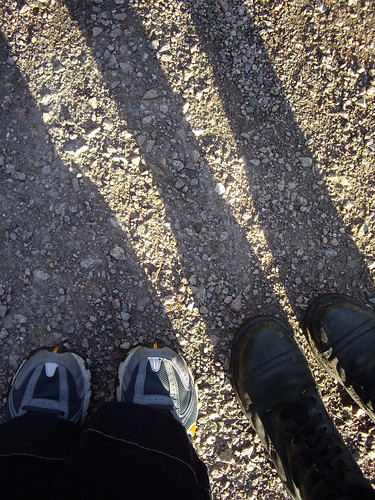
I went for a walk with Sarah (Skycarrots), and we sketched and made rubbings and nibbled leaves and took pictures. Sarah took a picture of me, taking a picture of my shoes. She also took some lovely ones of a meadow full of cowslips, glowing as the light faded. We’re planning on making these walks a regular occurrence, so hopefully we’ll have full sketchbooks and photo albums to show you soon. It was lovely to go out with a friend, and find a bit of creative inspiration in our local area.

Silver Jewellery

Silver Jewellery Class

Looking through my photos on Flickr, I realised that I made quite a lot of things towards the end of last year that I didn’t show you! These pieces were all made on a silver jewellery course at Maiden Erlegh School, with tutor Cathy Newell Price.

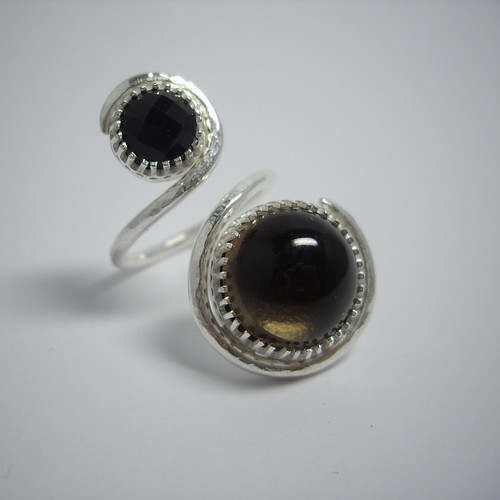
The piece above is an adjustable ring featuring two smoky quartz cabochons. The top one’s faceted and the bottom one’s smooth. The band is slightly hammered to give it a bit of texture. I bought the fancy bezel strip, I didn’t make all those teeny-tiny prongs from scratch!

Silver Jewellery Class

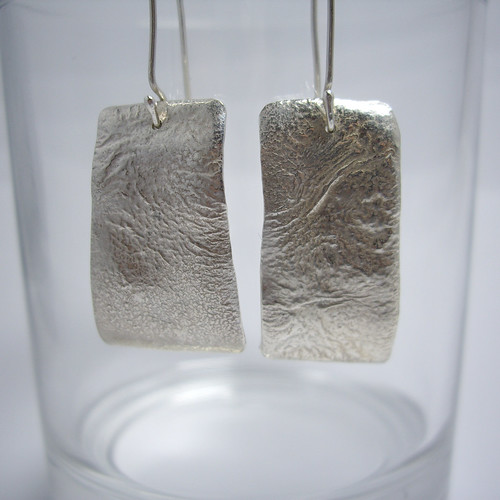
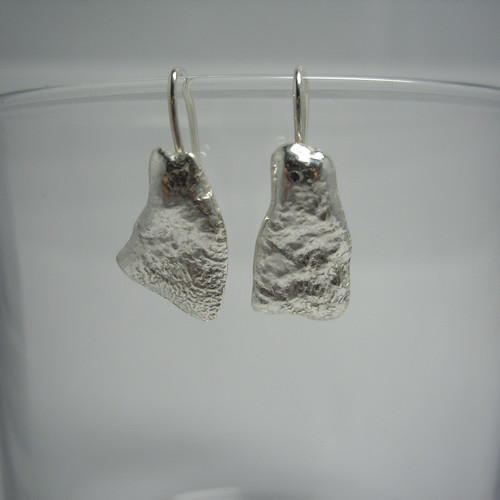
This was an experiment with reticulating the surface of sterling silver to create a textured effect. You have to heat and re-heat the silver enough times so that the silver and copper begin to separate, with the silver molecules coming to the surface. Once that’s happened, you can use the blowtorch to create ripples – you just need to be very careful not to melt everything!

Silver Jewellery Class

Which, as it turns out, is what happened here. I got a bit carried away with the blowtorch on one of these little pieces, and melted one end. Because I wanted the two pieces to match, I then had to very carefully and deliberately melt the other one until they were sort of similar. I don’t mind that they’re not exactly the same – I quite like having fraternal rather than identical earrings. Shows they’re made by hand.

I’d originally intended to make a pair of cufflinks, using the larger pieces of reticulated silver for the front, and the smaller pieces for the back. Unfortunately I very quickly ran out of patience while trying to make a chain to join the large and small pieces together. All those tiny little links were so fiddly! So I decided to quit while I was ahead, and ended up with two lovely pairs of earrings instead.

Silver Jewellery Class

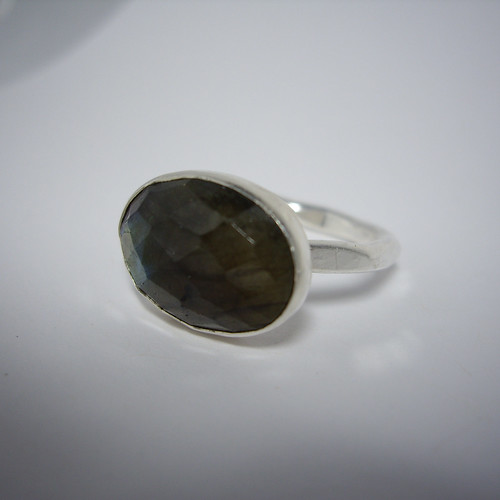
This was actually the first piece I finished, a labradorite ring. It’s ever so slightly too big for me, but I couldn’t bear to part with it. I wear it with a plain ring over the top to hold it in place, and the large stones prevents it from spinning around on my finger.

The course finished in December, and I promised myself that I’d do more work with silver back in the Shed. I have all the tools, and lots more stones to set… I just haven’t got around to actually buying any more silver. I’d love to make a pendant to match the labradorite necklace though. Kernowcraft have just got in a beautiful teardrop-shaped cabochon that would complement it perfectly!