Beaded scarf – sneak preview

gemstone beads

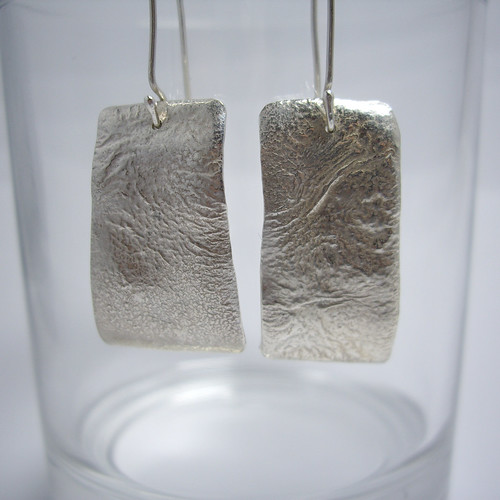
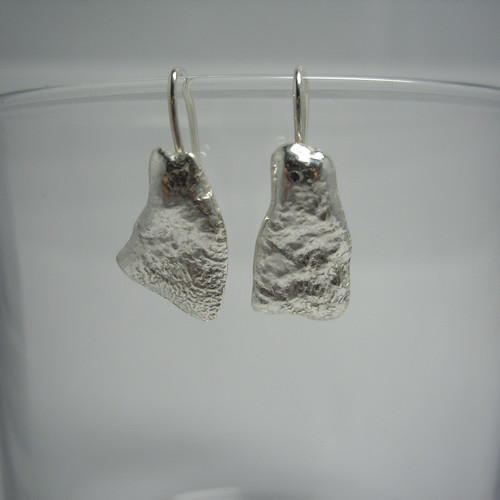
Remember the Blackcurrant Surprise fabric I dyed back in August? The one that came out a lovely shade of grey? Well, it turned out to have another surprise in store for me. I’d folded it up and put it away while I decided what I wanted to do with it… and when I got it out, it had changed colour again! It’s now a pretty neutral beigey shade, and it still smells very faintly of blackcurrants.

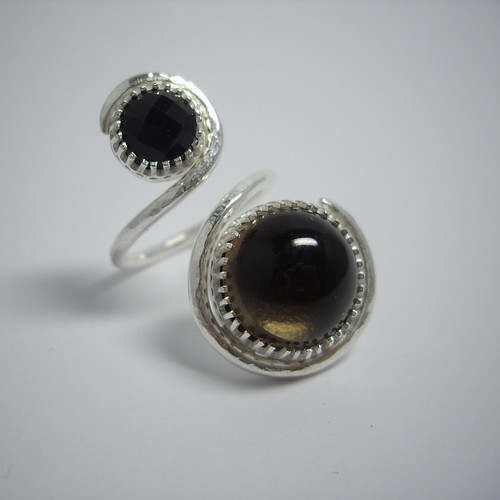
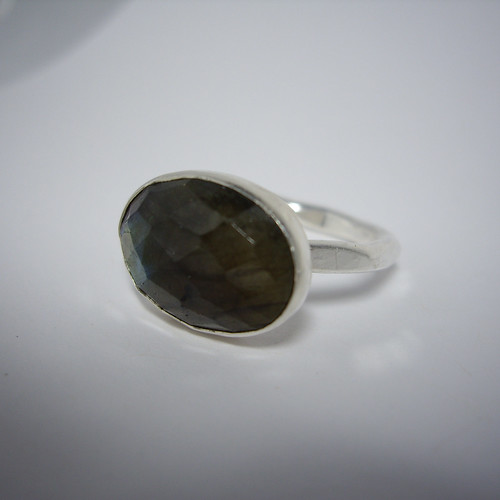
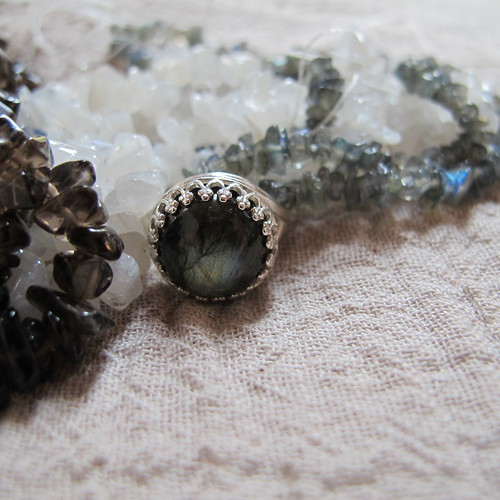
It’s destined to be divided into three little scarves, each measuring about 50 x 150cm, with beading on the ends. The beads in the photo are all semi-precious stones. Smoky quartz on the left, moonstone in the middle and labradorite on the right. The sterling silver ring in the middle is set with a 12mm labradorite cabochon, and it’s adjustable so the scarf can be styled in different ways.

I chose the smoky quartz because its brown tones blend nicely with the fabric, but now I’m not sure whether or not it’s too dark. Perhaps once the beads are more spread out, with all three colours sprinkled in together, it won’t look quite so dramatic.

These are going to be Christmas presents, so  won’t be able to show you the finished scarves for a little while. In the meantime though, I do have some plans for these pretty little adjustable rings, so watch this space!

Silver Jewellery

Silver Jewellery Class

Looking through my photos on Flickr, I realised that I made quite a lot of things towards the end of last year that I didn’t show you! These pieces were all made on a silver jewellery course at Maiden Erlegh School, with tutor Cathy Newell Price.

The piece above is an adjustable ring featuring two smoky quartz cabochons. The top one’s faceted and the bottom one’s smooth. The band is slightly hammered to give it a bit of texture. I bought the fancy bezel strip, I didn’t make all those teeny-tiny prongs from scratch!

Silver Jewellery Class

This was an experiment with reticulating the surface of sterling silver to create a textured effect. You have to heat and re-heat the silver enough times so that the silver and copper begin to separate, with the silver molecules coming to the surface. Once that’s happened, you can use the blowtorch to create ripples – you just need to be very careful not to melt everything!

Silver Jewellery Class

Which, as it turns out, is what happened here. I got a bit carried away with the blowtorch on one of these little pieces, and melted one end. Because I wanted the two pieces to match, I then had to very carefully and deliberately melt the other one until they were sort of similar. I don’t mind that they’re not exactly the same – I quite like having fraternal rather than identical earrings. Shows they’re made by hand.

I’d originally intended to make a pair of cufflinks, using the larger pieces of reticulated silver for the front, and the smaller pieces for the back. Unfortunately I very quickly ran out of patience while trying to make a chain to join the large and small pieces together. All those tiny little links were so fiddly! So I decided to quit while I was ahead, and ended up with two lovely pairs of earrings instead.

Silver Jewellery Class

This was actually the first piece I finished, a labradorite ring. It’s ever so slightly too big for me, but I couldn’t bear to part with it. I wear it with a plain ring over the top to hold it in place, and the large stones prevents it from spinning around on my finger.

The course finished in December, and I promised myself that I’d do more work with silver back in the Shed. I have all the tools, and lots more stones to set… I just haven’t got around to actually buying any more silver. I’d love to make a pendant to match the labradorite necklace though. Kernowcraft have just got in a beautiful teardrop-shaped cabochon that would complement it perfectly!