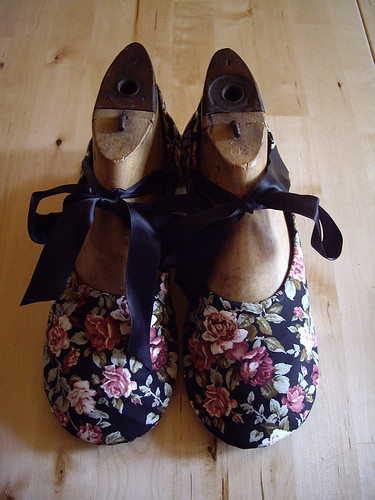
This is what reminded me that I hadn’t shown you the silk steampunk outfit – I finally found the time to make one of the accessories to go with it!
In our original sketches, we’d talked about a beaded silk collar and matching wrist cuffs. I haven’t made those yet (I’ve run out of gold eyelets!), but I did manage to make the collar.
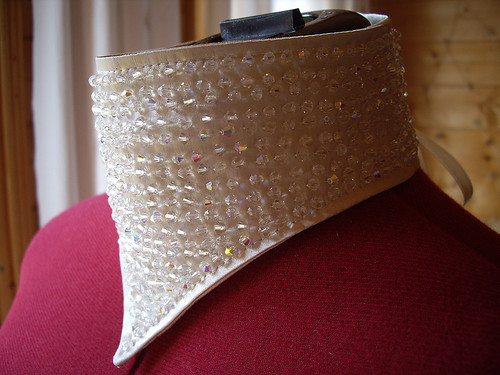
The silk is an offcut from the original dress, lined with an offcut of the bodice lining which was heavily interfaced. The Swarovski crystal beads were all unpicked from the original dress, and then sewn onto the collar in two sessions in front of the telly – taking a total of seven and a half hours. That’s just the beading, not the original unpicking, or the sewing of the collar itself. I knew all that time I spent sewing on beads in the bridal shop would come in useful eventually!
I deliberately didn’t take the beads all the way up to the edge, partly to allow a little bit of the lovely fabric to show through, and partly so that there was nice soft silk against the skin.
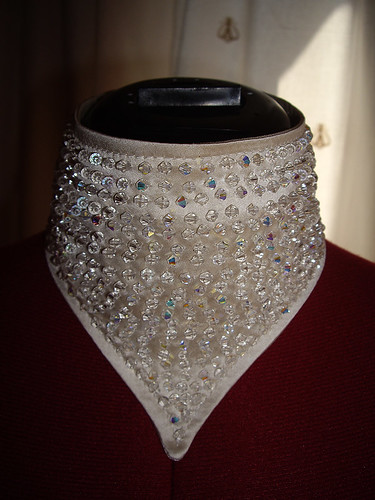
When the collar catches the light, it really sparkles. These photos really don’t do it any kind of justice at all – you really need to see it move. The silk has a beautiful lustre of its own, and with the beads on top… wow. I know that sounds as though I’m blowing my own trumpet, but really, it’s the materials doing all the hard work!
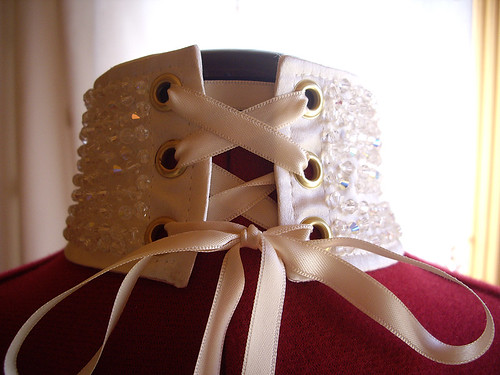
And this is how it fastens – three eyelets on each side at the back, and a simple ribbon. Nice and long, so you can just skip it off over your head rather than having to re-lace it every time.
I’ve still got loads of beads left over, more than enough for the matching cuffs. I might ask to borrow the jacket, so I can use up the remaining beads on the sleeves.
I’m really tempted to make one of these for myself… although where I’d go wearing a sparkly crystal collar I’m not too sure! Maybe I’ll just wear it to work.