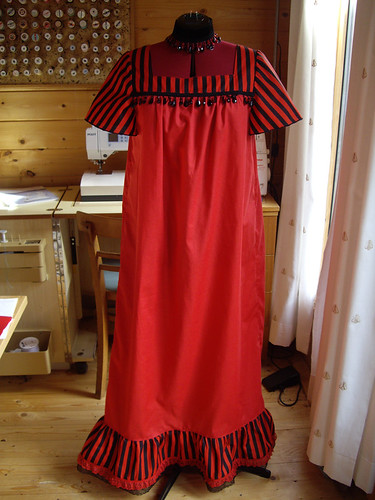
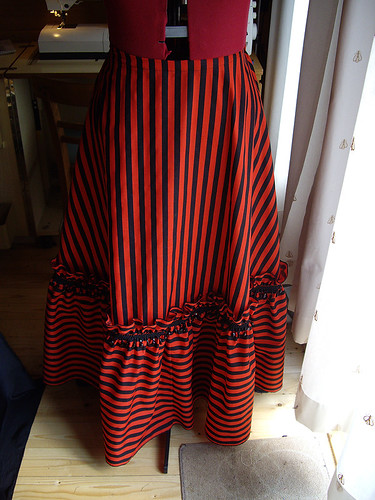
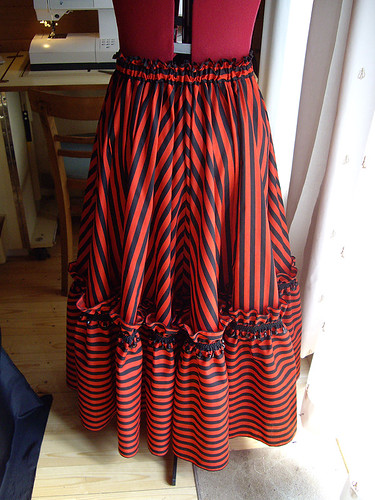
So, at long last, here is the completed stripy/steampunk outfit!
Paul and I went to the Wild Boy’s Ball at Kensington Palace, and had an absolutely magical evening. You can see all the photos that Paul took, over on Flickr.
We started off by going inside the palace itself, which was actually quite different from the last time I went. They’d repainted the entrance staircase, and changed quite a few of the rooms and installations. The giant dolls were gone, which was a shame, but they were allowing photographs (without flash) inside this time, which was brilliant. Perhaps the most enchanting but also the most creepy things were the new light installations by artist Chris Levine. At first glance they just look like a tower of flickering lights, but when you turn away from them you see people in your peripheral vision! (Sadly they gave Paul a terrible headache and made his eyes twitch.) I sat in the knitted throne, and was bowed-to by two of the Wildworks cast – who went on to give me a knitted orb and sceptre to hold until I made a wish!
When we came out we saw a show by The Gaiety Engine, which was hilarious. We also walked around the sunken gardens, which had been transformed with hundreds of red baubles hanging from the arches. Each bauble contained a piece of artwork or a secret written down by a member of the public. There may have been a certain amount of posing for photos… and as we were walking back, the official event photographer asked me if I’d mind posing for him, which was exciting – that’s never happened to me before! I suspect it’s just because I was conveniently wearing the right colour of dress, but he took some lovely pictures. Shame I didn’t think to give him my email address so I could get copies. You can see the whole set on Kensington Palace’s Facebook page.
I wanted to do the craft activities, so I made a pretty paper rose. (Like this, only bigger.) I didn’t make a lantern because there was a massive queue, but I rather cheekily brought all the lantern-making materials home with me, so I can make one anyway. Photos to follow when I’ve glued it all together and found a tea-light to pop inside. It’s very pretty.
There were supposed to be some people giving period dancing lessons and seduction tips, but we didn’t see them – although there was a small group of people in period costume, so it might have been them. At the end of the night there was dancing in front of the Orangery, run by The Last Tuesday Society. Every single piece of music was a waltz, and I tried very hard to teach Paul how to dance, but sadly he couldn’t get the hang of it. Which was a shame, because I could quite happily have waltzed for an hour, if I’d had somebody to waltz with. Paul and I did dance a bit, but it wasn’t waltzing by any stretch of the imagination!