Look, I made bread! Normally I’d use the breadmaker. This time I was volunteering at the Museum of English Rural Life, where I was helping to teach small children (and their parents) how to make their own bread and butter.
We used the bread recipe from the flour packet, which you can find here. We weighed out all of the ingredients in advance, so all the kids had to do was mix the dough and then knead like mad!
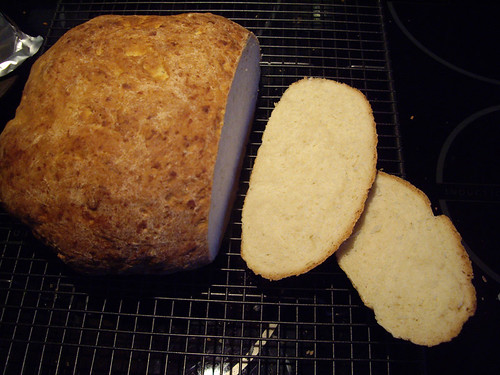
There were some already-measured ingredients left over at the end of the day, so I had a go at making my own loaf. It didn’t go too well, which was a bit embarrassing when a room full of children had made it look quite simple! I didn’t use enough liquid in my dough, so it came out a bit on the heavy side. I also forgot to compensate for the speed of the fan oven when I baked it at home, but thankfully I managed to rescue it before it burned to a crisp! Despite being a bit dense, it tasted pretty good.
To make your own butter, you need the following:
- A tub of cream, at room temperature. (Ours had been opened and left overnight.)
- A clean glass jar. (Ours had been sterilised in the dishwasher.)
- Two wooden spoons, or a piece of cheesecloth
That’s it!
Simply spoon in the cream until the jar’s about one third full. Make sure the lid’s on very tight, and hold the jar with one hand on the top and one hand on the bottom. This makes sure that the lid doesn’t fly off, and also means that your warm hands aren’t all over the jar, heating up your butter. Now shake the jar.
As you keep shaking, you’ll see the cream start to go through some changes. At first it might be quite runny, but it will start to granulate and separate into yellow fat and white liquid. Eventually the buttermilk will separate out, and a large lump of very squashy butter will form.
Drain off the buttermilk – you can use it to bake scones or pancakes, or if you like the taste you can just drink it! You’ll need to pour some cold water into your jar to rinse off the rest. If you don’t get rid of the buttermilk, the butter can go rancid very quickly. Rinse until the water coming out of the jar is clear. The cold water will also help your butter to become more solid.
Once the rinsing’s done, you can pat your butter between two wooden spoons, or squeeze it through cheesecloth to get rid of the very last remains of the buttermilk. Pat it into shape and leave it in the fridge to harden, and it should be ready by the time your lovely loaf of bread comes out of the oven!
If shaking a glass jar seems like altogether too much hard work, you can also make butter in food processor. You have to pay attention though, and stop immediately the butter’s formed. If you keep going, you’ll get… well, I don’t know what it is, but it’s definitely not butter!