Inexplicable Emporium

Remember the picture that was propped up against the wall in my Shed? Here it is outside, in the last of the snow, looking rather smart on its nice new easel.

We’re getting ready for a stall at an event in May, which I’ll tell you a bit more about once we’ve received confirmation that we can go ahead! Hopefully we’ll be launching the INEXPLICABLE EMPORIUM there, and this is the sign that we’ll be taking with us!

I’ve been ordering lots of materials and packaging, and doing a bit of product design while I wait for them to arrive.

Hopefully some of the things that I’ve been showing you recently are starting to make a bit more sense now!

I also have all of the ingredients necessary to make some scented candles, to which we’ll be giving thoroughly silly names and descriptions.

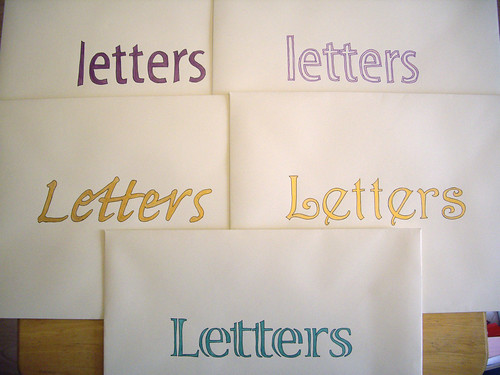
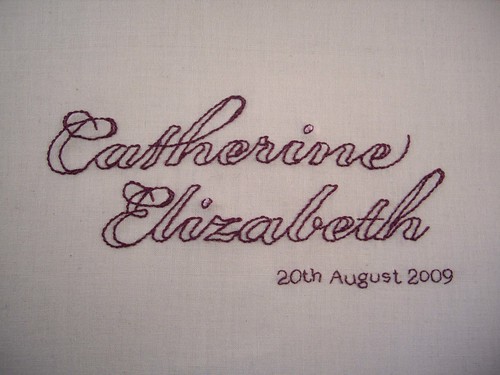
The idea is to give the impression of a Victorian-style shop, with a wide range of different products. Obviously the things I’m making are thoroughly anachronistic, but that’s all part of the fun! I’ve been really enjoying writing the copy and designing the labels. I knew my degree in Typography & Graphic Communication would come in useful one day…

Letters

Painted envelopes

Apparently spring is Birthday Season around here, because I suddenly discovered that I needed to send out a whole bunch of birthday gifts at the same time. A few of us have been enjoying writing actual physical letters to one another recently, so I decided to put together some letter sets.

They’re bigger than they look – what you can see in the picture is five A4 envelopes. Inside each one is a set of ten sheets of A4 Conqueror writing paper in a lovely deep creamy colour, with five matching DL envelopes. I also put in a few little “thank you” cards, a gel pen, a mini propelling pencil, and a couple of Airmail stickers.

The outer envelopes looked a bit plain, so I decided that a spot of hand lettering was the order of the day. You can’t really tell from this photo but they’re painted with metallic acrylics, and then outlined with a very fine marker.

I really enjoyed painting these – I spent a very pleasant afternoon watching endless Eddie Izzard DVDs as I wielded my very tiny paintbrush.

Embroidery & Typography

Catherine Elizabeth

This is my latest embroidery, for Catherine Elizabeth May who was born just less than two weeks ago.

The font is Bickham Script Pro, and one of the things I liked about it (along with most of the fonts that I buy) is that it has proper ligatures. A ligature replaces a sequence of single characters with a single conjoined character, as shown in the example below:

Ligatures

(Quick typography fact – the most commonly used ligature is the ampersand, where et becomes &.)

What I didn’t notice until I was almost at the end of the embroidery, is that there are two th ligatures in “Catherine Elizabeth”, and they’re both different! In “Catherine”, the t is a single stroke, joining to the h from the crossbar. The upper loop of the h is also very wide, extending over the top of the following letter e. However at the end of “Elizabeth”, the t joins to the h from the bottom stroke, and the crossbar doesn’t join at all. The loop of the h is also much narrower.

I’m afraid that I’m not going to unpick an entire night’s worth of embroidery in order to make the two ligatures the same. What I am going to do is fiddle around in Photoshop, and try to work out why it decided to render the two ligatures differently.

More embroidered ampersands

Embroidery examples

This is what’s been keeping me out of trouble in the evenings – embroidering ampersands. And a little flower made from a vintage button, just for good measure.

The larger ones measure 6 inches across, and the smaller ones are four inches.

In order to prevent my house from becoming completely over run by embroidered typography, all of these pieces are now for sale on Etsy.

I’m now in that awkward position where I probably shouldn’t really go buying any more supplies until I’ve earned a bit of money by selling some of these. I can’t wait to make some more, so I’m keeping my fingers crossed that somebody out there likes them as much as I do!

Embroidered ampersand

Embroidered ampersand

When typography and crafts collide… I couldn’t be happier!

I’d intended this ampersand to be like a traditional embroidered monogram, and was originally planning on filling in the design with satin stitch. Instead I spent several days looking at the outline, and eventually decided that I like it just the way it is.

Being something of a typography geek, I have a particular fondness for ligatures. I was never a type designer myself, but I appreciate the beautiful attention to detail of joining up the design of (usually) two individual characters to make a more efficient form.

A while ago I bought the most glorious font, made up entirely of ampersands. My next mission? To embroider a whole lot more!

DIY Diary

I freely confess that I am an avid lover of stationery. I have more blank notebooks than is entirely sensible, and I am apparently incapable of sticking to one diary for an entire year. I tried to combat this tendency by buying the most glorious enormous pink Filofax, but even the beautiful leather binder can’t keep me faithful to one diary format.

I’ve tried the Time Management system, the week to view in columns, the week to view with notes, and am currently using a very ambitious page to view, which I’ve been keeping as a sort of a scrapbook.

Over the past year or two I’ve been thinking of making my own diary pages. I’ve looked at the customisable templates over at DIY Planner, thought about hacking a Moleskine, and oooohed over some beautiful planners at Etsy and Little Otsu.

Finally, today, I have bitten the bullet, dusted off my Typography degree, and designed my own planner, which works around the way that I organise my week.

I’ve left enough room down the middle to separate the two pages, and to punch holes so that I can fit them into my binder. I’m not going to print these pages double sided, I plan to use the blank sheets between each week as extra space for writing down notes and ideas.

Once I’ve used the pages for a few weeks, I’ll think about printing them onto nicer paper so that I can use a variety of pens without the ink bleeding through to the other side. I might even consider designing a cover, and putting it up on Lulu, so that other people can use it too. Or perhaps releasing the file as a PDF, so you can print out the pages and use them to make your own planner.