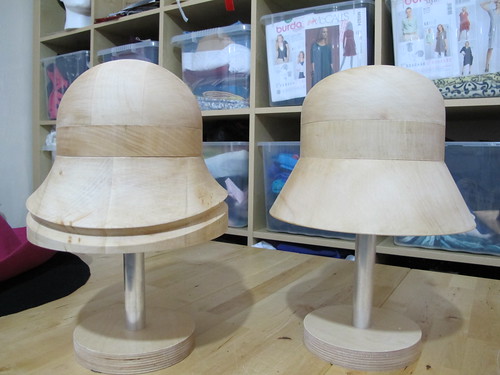
Aren’t they beautiful? My very own multi block cloche set from Guy Morse-Brown. You may have already seen pictures of them on Facebook – I’ve been saving up for these all year, and was very excited about their arrival! All the sections are interchangeable, which means that eventually I can buy more crowns and brims to make different styles of hat. But I think cloches make an excellent everyday sort of hat, and I want to make hats that people actually wear, not stick in a cupboard and only bring out for weddings. So, cloche hats it is!
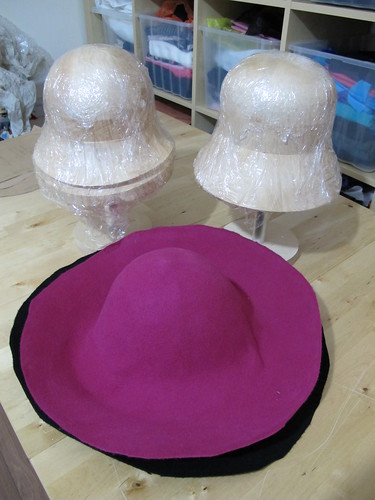
The blocks are covered in cling film, to prevent dye transfer from the felt, and to prevent the stiffener that’s impregnated into the fabric from sticking to the wood. The floppy shapes on the table are called capelines – which my spell checker keeps insisting is two words, grrr! They’re made from wool, and I bought them at Broadlands about four years ago. About time I put them to good use!
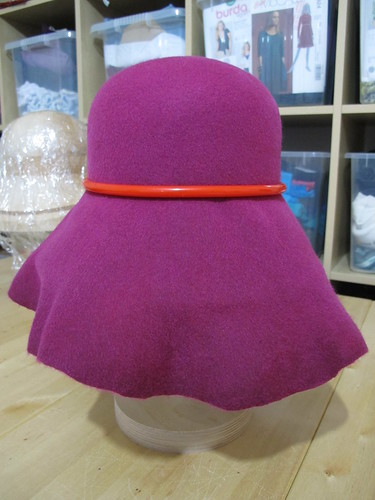
Some people use steam, but I just used hot water to soften the felt enough to pull it down over the block. The red band is a blocking spring, which holds the felt in place at the crown so that you can keep pulling and stretching it over the brim. It’s hard work – this kind of felt is very stiff.
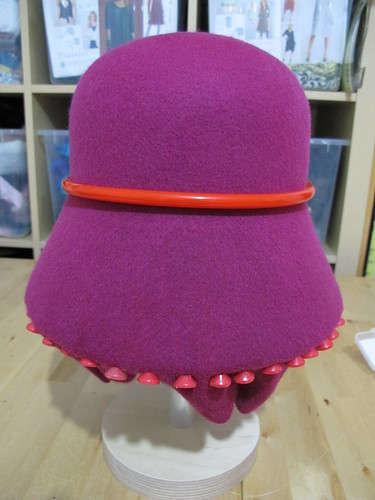
This is the brim, held in place by fifty special blocking pins. Once the felt is completely dry, I can cut away the excess, trim the brim, add an inside band, and then decorate it. I think this one’s going to be mine!
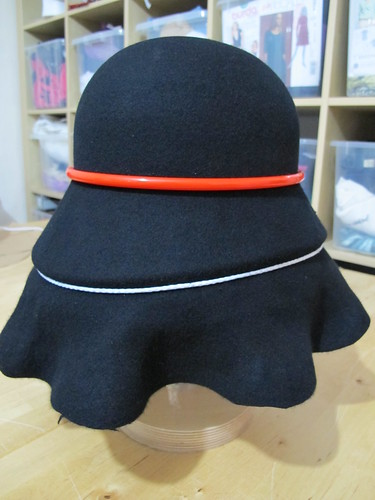
And here’s the second block, which has more of a sweeping shape to the brim. The back of the hat is on the right. You wear this hat slightly pushed towards the back of your head, so you can see out from under the brim. Speaking of the brim… I might need to work on this one a bit more. I think this is where steam will come in handy, as I had real trouble blocking the brim to fit the concave shape of the block. I don’t think the string was tight enough in the groove to make a really neat edge to the brim, but I won’t find out until I’ve taken the hat off the block. The great thing about working with felt like this is that it doesn’t matter if I’ve mucked it up at the stage – I can simply soak the capeline in hot water, or steam the brim, and start again. Brilliant!
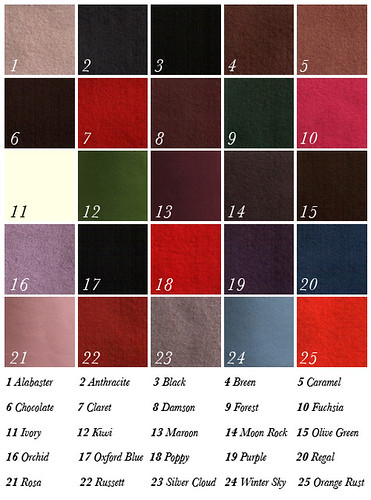
And because I am nothing if not enthusiastic, I’ve made a colour chart of the range of felts I can order from to make more hats! (Oh, number 20, Regal, is out of stock at the moment, so you can’t have that one.)
What I’d like to do is offer a discount to the first six people who pre-order a hat from me. This gives six people a hat at a fantastic bargain price (yet to be worked out, but likely around £40 + shipping), and gives me the funds up front to buy things like a big roll of brim wire and a bottle of felt stiffener that I can’t buy in single-hat quantities. I realise that nobody’s going to buy a hat based on two pictures of work very much in progress, but I figure that if you know this is happening, you can start to think about colours and trims for when the time comes!