Felted Flower Experiments

Cut-and-sew felt flower

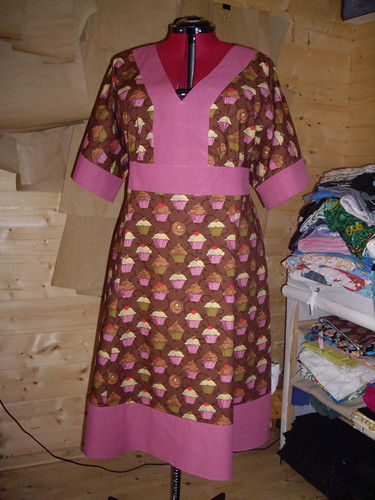
Whilst the feedback on all of my hats so far has been very positive (thank you!!), there’s one enquiry that’s come up several times now: “will we be able to buy the felt flowers without a hat?” The answer, of course, is yes! But I do need to work out the best way of doing that – both for me in terms of making the flowers, and for you in terms of offering lots of choice.

Cut-and-sew felt flower

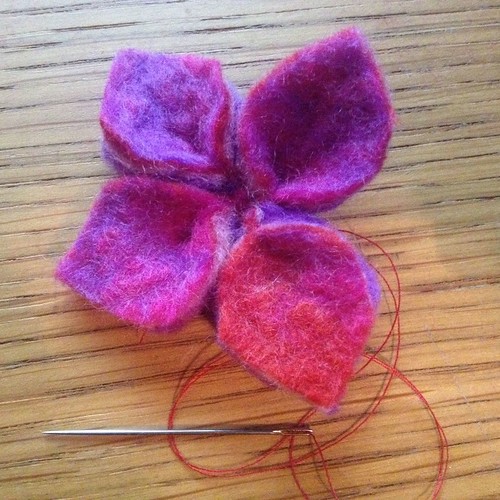
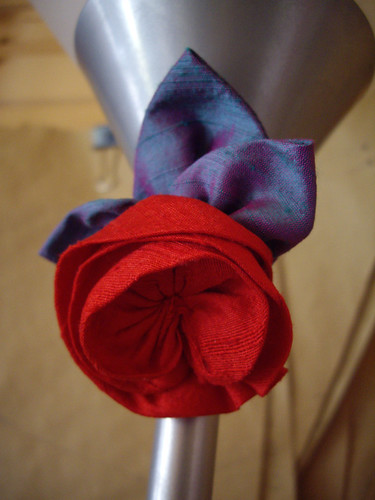
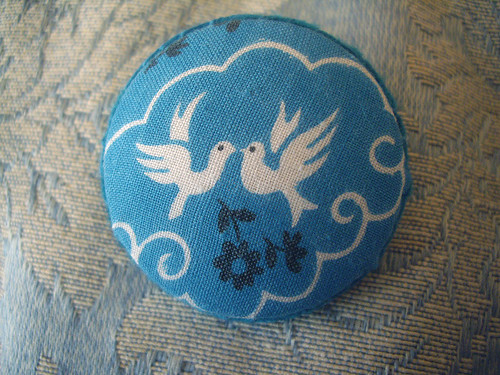
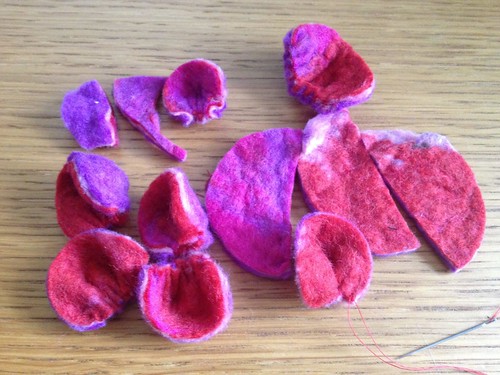
So, to that end, I’ve been doing lots of felt flower experiments. The two pictures above are of my attempts to cut out petals from a wet-felted sheet, and then sew them together again to make a flower. This did not go well. It turns out that if I’m making felt, I’d actually prefer to wet felt the flower itself, in one go.

Wet felted flowers

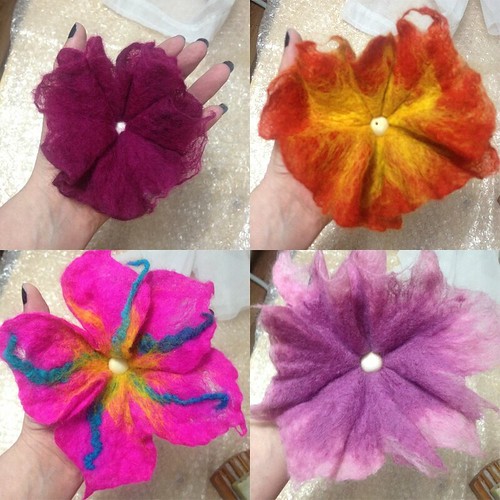
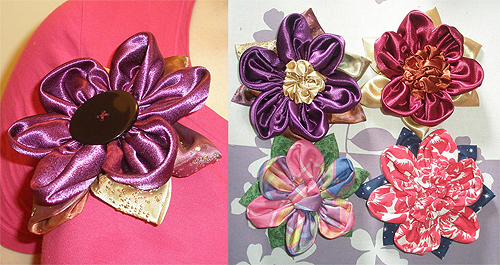
So that’s what I did next! It turns out I have a bit of a problem with size though… these are all smaller than the monster flower that I made for Nicola’s orange hat, but the smallest one is still almost the size of my hand. They just seem to naturally want to come out big!

This is fine by me, as I think a huge great flower on a brooch or a clip or a hair comb would make a fantastic statement! But of course not everybody wants to show off as much as I do, so I thought I’d better try and make some smaller ones as well.

Needle felted hair flower

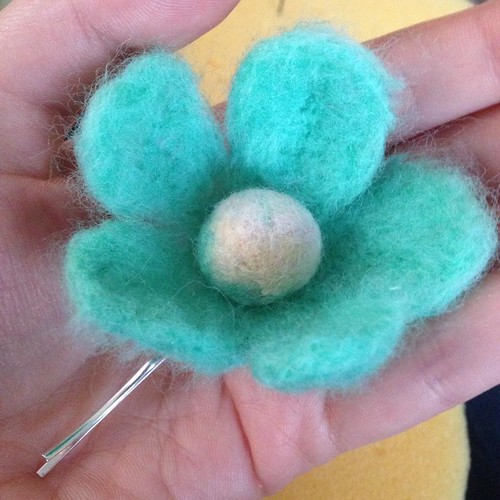
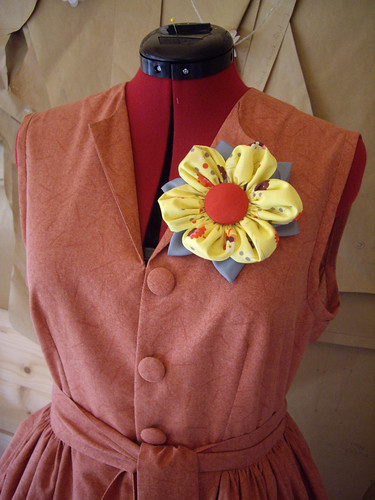
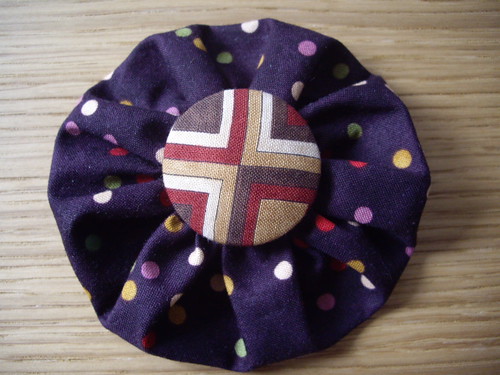
So, here’s a little needle-felted flower, attached to a large bobby pin. Much better! It fits in the palm of my hand, and the flower is light enough that it’s not going to pull the clip out of place.

Needle felted hair flower

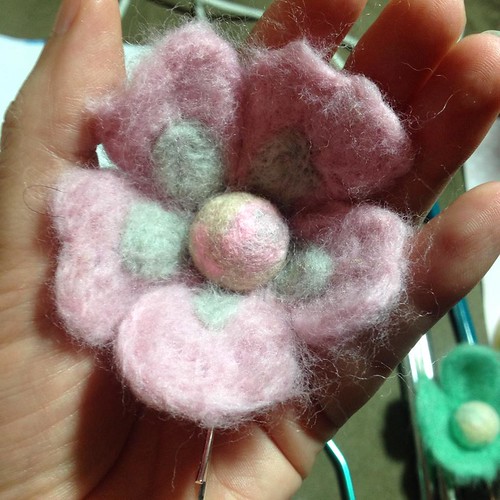
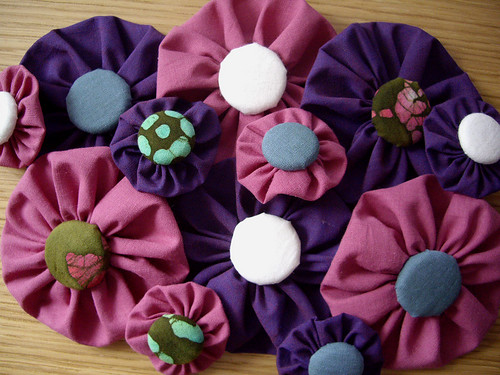
This is the second one, playing with adding a bit more colour to go with the felted ball in the centre. I have a few of those that I made during a session with the children at work, so now I’m choosing colours and designing flowers to go around them. This one’s already sneaking up in size though, so I need to make sure that these stay dainty and don’t get too big! I also need to practice my needle felting technique, as I’m not quite convinced about the texture of this one. Maybe a finer needle would do the trick.

So, watch this space, as I suspect there will be lots more flowers to come!

Silk Rose

Silk rose

I made this little silk rose a while ago, but forgot to take a photo to show you. It’s backed onto a magnet, so you can wear it as a buttonhole on a smart jacket without making pin holes. Now I’ve seen this larger-than-life picture I think I might add a silk-covered button in the centre, just as an extra little finishing touch.

Buttonholes

I haven’t been showing you very many of my wedding plans on here, but this is a little something I thought other people might be interested in. They’re not quite finished yet, but these are the basis of the buttonholes that our families and Best Man are going to wear on the day. The pink and purple ones are for the men, and the cream and peach are for the ladies.

All of the flowers came from Hobby Craft. The roses are paper, with wire stems. The fabric violets came as part of a big posy which I dismantled. I’ll be using the large leaves from the posy to go behind each of the buttonholes. The silver and gold holders are actually filigree aglets for corset laces, bought from Vena Cava.

The large leaves are currently being pressed underneath a pile of books, waiting for the glue to dry. I’ve attached a magnet to the back of each large leaf, and glued on a smaller leaf to cover it. That way there’s no need for pins – the back of the magnet simply goes underneath a lapel or inside a dress, and holds the buttonhole into place.

Once the glue is dry, the leaves will be held very simply by twisting around the wire stems from the flowers. Then I can trim the stems, crimp the top of the aglets, and they’re done!

This is why I write tutorials.

Pink Salamander's Bird Skirt

Pink Salamander made a skirt, using my Gathered Skirt Tutorial.
The bird fabric is from IKEA – isn’t it adorable?

You can read all about the project over on Burda Style.

British Cowgirl's Flower Brooches

Ariane had a go at the Flower Brooch Tutorial, and came up with these gorgeous creations.
Not having a huge stash of buttons, she got creative and gathered up a strip of fabric to make the centre of the flowers. Beautiful, and clever!

You can see how Ariane did it over at her LiveJournal, British Cowgirl.

This is why I like writing tutorials – because I get to see what comes back from them. All of my projects use the absolute simplest of techniques, but you can come up with such an amazing variety of results. As Ariane demonstrated with her flower brooches, it doesn’t even matter if you don’t have all the “right” materials! You can use your own imagination and ingenuity, to make exactly what you want.

That, for me, is what sewing’s all about.

If you want to, you can learn professional techniques and make astonishingly complicated things. But these simple projects show that even as a complete beginner, you can pick up a needle and thread and make something beautiful.

Suffolk Puff (Yo Yo) Flower Brooch Tutorial

Flower Brooch Tutorial

This is what I’ve been up to today – making an enormous flower brooch using suffolk puff (yo yo) techniques.

I’ve written up a tutorial for you, if you’d like to make your own!

Chloe’s Cupcake Dress

Chloe's Cupcake Dress

This is Simplicity 4050, sadly now out of print. The only change I made to the pattern was to add a tie belt to the waistband.

The plain pink fabric is from my stash of Bishopston organic cottons, and the cupcakes are by Martha Negley for Rowan.

Chloe had seen the photograph of a dress I’d made for myself using these fabrics – Simplicity 4072 – and asked for one the same. Simplicity 4050 is the plus-sized version of that pattern, and to be honest I think it’s much more flattering. The neckline isn’t quite so low, and there’s no gathering at the front of the skirt. It also fastens with a zip at the back, making it a more streamlined dress.

The Simplicity 4072 turned out not to suit me after all, so I’m quite tempted to make myself a version of the Simplicity 4050 instead.

I’ve made clothes for Chloe before, and she always looks fabulous, so I’m looking forward to seeing pictures of her wearing this one!

I also made a matching Suffolk Puff corsage to go with it:

Cake Corsage

Lovely brooches for lovely Mums.

Vintage dove brooch

I made this one for my Mum. I’ve been trying to think of something pretty to make from this fabric for ages, but I had such a tiny piece that I didn’t know what to do with it.

The fabric is the remnants from a dress which was made for my Mum when she was a little girl. It’s the most adorable print, of fairground carousels with horses, and these doves.

It’s made from a very large self-cover button, with the loop at the back removed. I fixed the fabric firmly over the button, and attached the back to hold it into place. I then sewed a brooch pin to a piece of matching felt, and joined it to the button with blanket stitch.

Voila – one pretty brooch, from a tiny scrap of heirloom fabric!


Suffolk Puff & button brooch

This one was made for Paul’s Mum, whose birthday is very soon. The button is the same size as the one above, covered in a tiny square of quilting fabric. The spotty fabric is actually brown. It’s gathered into a Suffolk Puff, with the button sewn into the centre. There’s a brooch pin on the back, to fasten it onto a jacket.

As soon as Stef saw this, she came up with loads of great ideas for these Suffolk Puffs with buttons in the middle. She suggested hair ties, shoe clips, embellishments with beads – all sorts of things!


I have so many teeny-tiny scraps of fabric that I didn’t know what to do with. I also have two art market stalls coming up in September and November. I can feel a whole lot more Suffolk Puff making coming on!

A Pleasing Pile of Puffs.

I’d never made a Suffolk Puff before today, and now I’ve made a dozen:

Suffolk Puffs

They’re made from offcuts of the Bishopston organic cottons, with a little bit of Fair Trade batik thrown in for good measure. The centres are made from self-cover buttons.

These particular puffs are going to be sewn on to organic cotton tote bags, which I’ve been embroidering for Paul’s cousin’s daughters. I haven’t done any embroidery for a very long time either, but I’m pleased with the way it’s come out. Pictures will follow when the puffs are attached!

Before the Art Market in September, I plan to make a whole bunch of these as corsages, with brooch pins on the back. If I’m feeling particularly creative, I might go mad with multiple layers and feathers and ribbons and sparkly bits.

I’ve really enjoyed making these little pretties. I can’t wait to see how they look in lots of different types of fabric!