Whenever I can, I like to go on courses to learn something new. I’m very lucky that my local high school has a Community Arts programme, which runs evening and weekend classes and a Summer School. For several years I wasn’t able to attend the Summer School (the summer holidays being one of my busiest times at work), but this year I was really pleased to be able to go back. I’ve learnt lots of different things there, from ceramics to watercolours, but the thing I’ve enjoyed doing most is making silver jewellery. This year’s Sea Glass & Silver course with Cathy Newell Price offered a range of techniques that I was really interested in learning.
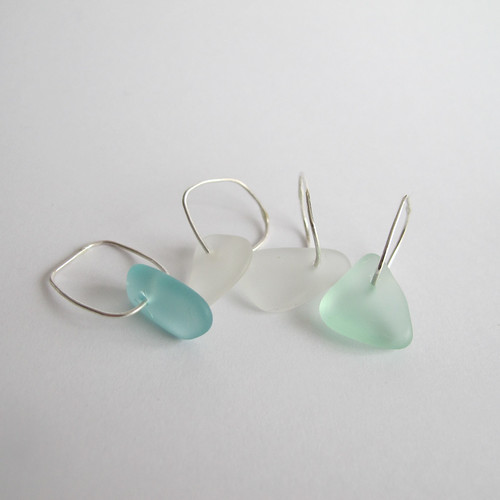
First up – drilling holes in sea glass, using that exciting combination of electricity and water! I managed to drill through four pieces, with only one (on the left) cracking slightly where I hadn’t lined up the hole very well. We also learnt how to solder the silver rings in place, whilst being very careful not to shatter the glass. I’ve never been particularly good at soldering, but working on something this fiddly definitely forced me to improve!
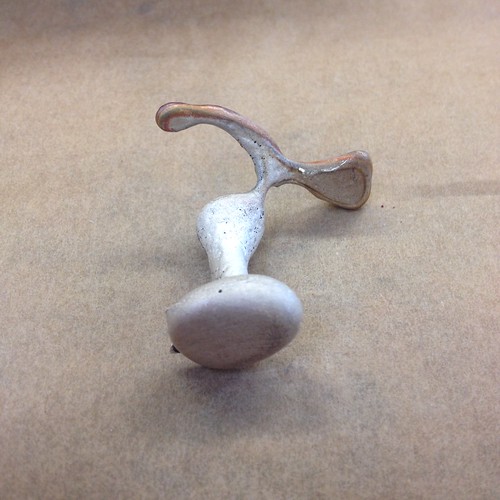
One technique that I was particularly excited about was learning to cast objects using a special type of sand called delft clay. I brought in a nice smooth pebble to cast, which in retrospect was a bit boring. I was very impressed by the person who decided to cast an almond, which came out wonderfully! In case you’re wondering, the pebble part is at the bottom – the sticky-out bits are the sprue (where the molten silver pours into the cast), and a splashy dribbly bit where I was a bit wobbly with the pouring.
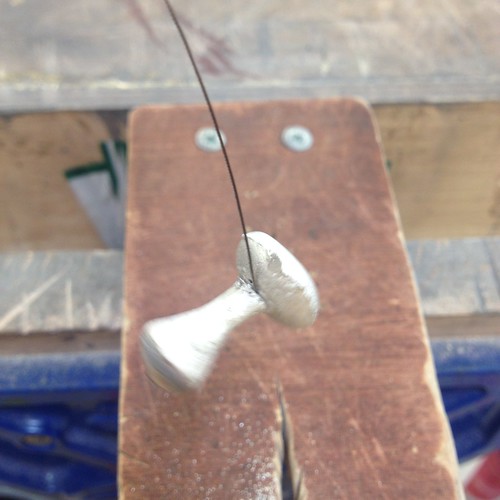
Once the cast is done, then comes the hard part – sawing off the sprue and filing off all the wonky bits where you didn’t quite line up the two halves of the mould correctly. (There’s less of that as you get better at the technique, obviously.) I have to say that I wouldn’t recommend snapping a piercing saw blade half way through your sprue – it’s really difficult to get out again. Oops.
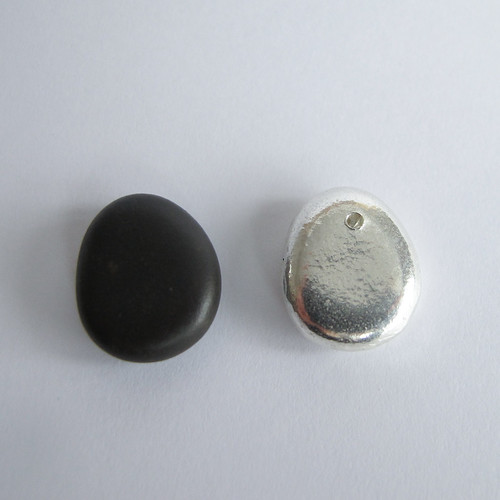
But here it is, all polished and lovely, alongside the original pebble used to make the mould. I like that you can see the very fine texture on the silver pebble, that’s barely visible on the original one. The little crater at the top is where I was trying to drill it through so that I could hang it as a pendant. Sadly, by the end of the course we’d collectively worn out all of the drill bits, so I had to give up! I’ve got a piece of silver wire set aside though, and I’ll use that to cover up the hole and make a bail to hang it from instead.
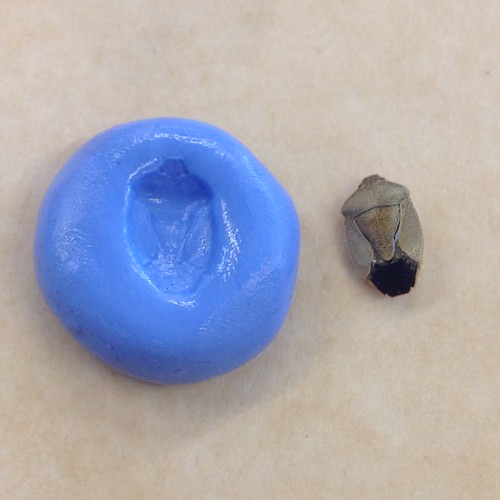
Next up – precious metal clay! I’ve used PMC before, by rolling out flat pieces and stamping them with an impression. I’d never used a mould to make a piece though, so that was fun to try. I brought in a shield bug that I’d found sadly expired in the greenhouse, but again, it perhaps wasn’t the best choice for this technique. Looking at everybody else’s shells, buttons and seed heads, I should have gone for something with more depth and texture for a better result. I also found the clay itself quite difficult to work with – it dried out very quickly, and started to crack.
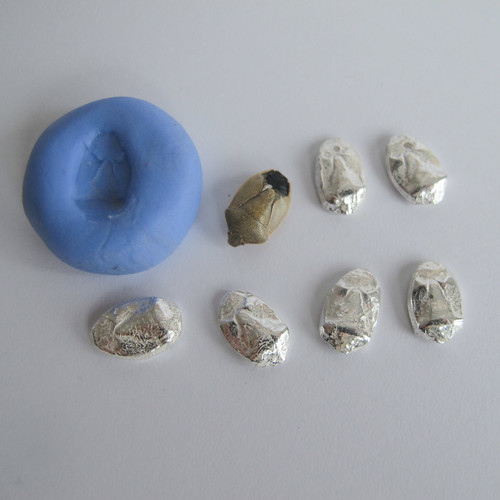
I must confess I was disappointed with my silver clay shield bugs right up until the moment they came out of the tumbler at the end of the day. As soon as they were polished up you could see the details more clearly – although some of the texture is from the drying clay, not from the original beetle. The top two have been drilled, and I’ll add ear wires to those at some point. I’m not sure yet what I’ll do with the other four – suggestions are very welcome!
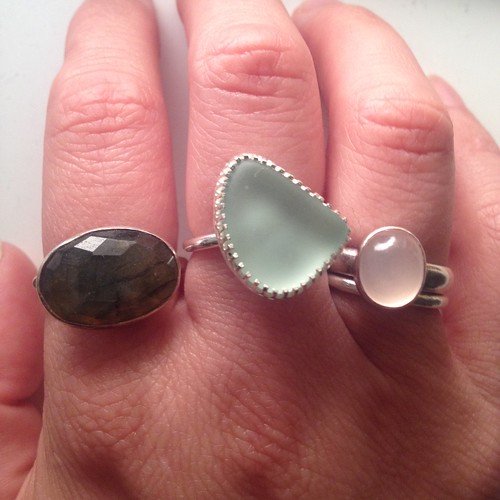
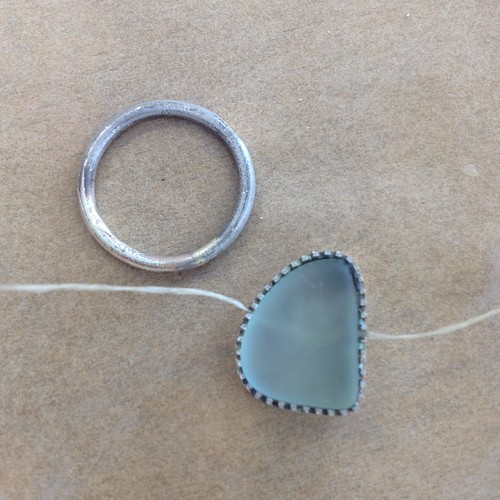
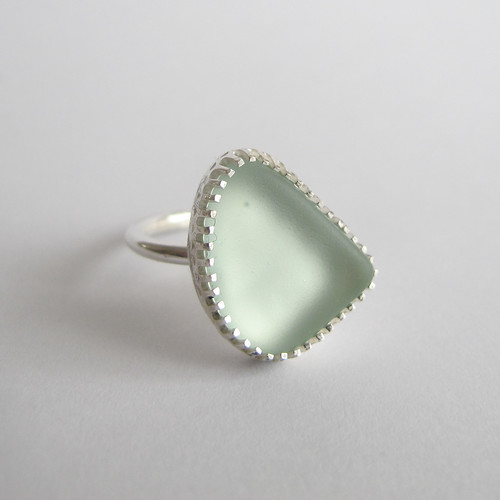
Towards the end of the second day, I started work on setting a piece of sea glass to mount onto a ring. I’d taken the little piece of gallery wire with me “just in case”, and was really pleased to have the opportunity to use it. I had to work at lightning speed to get it finished, and made a potentially catastrophic soldering error (using the same grade of solder for two joins very close together), but thankfully I got away with it!
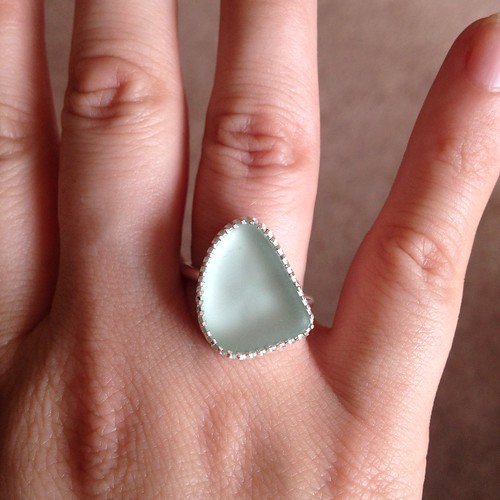
And here it is! Isn’t it pretty? I’m really, really pleased with how it’s come out. Yes, the finishing leaves a lot to be desired – there’s lumpy solder, lots of file marks, and a bit of fire stain that I didn’t have time to polish out. And the angle of the setting isn’t even slightly what I’d intended – the ring moved as I was soldering, and I didn’t have the time (or the skills, let’s face it!) to try and correct it.
But, it looks nice on the hand at this jaunty angle, and nobody but us knows that I didn’t set it this way on purpose!
I have to say that I really, really enjoyed this course. It was great to come home with such a quantity and variety of work at the end of just two days, and as always it was fascinating to see what everybody else had put together using exactly the same materials and techniques.
Having the opportunity to try out the sand casting was brilliant, as that’s something you’d never be able to achieve at home with a domestic blowtorch – you simply wouldn’t be able to generate enough heat. I’ve decided that the more I try and use PMC, the less I like it, so I’ve decided to sell my hoarded metal clay stash so that I can use the money to buy some silver sheet and wire. That way I can concentrate on doing the thing I enjoyed most – setting stones.
Now I need to look out for more courses featuring different stone-setting techniques, I think. There’s one on Saturday at South Hill Park, on tube setting, which I hope will come around again, and one of my fellow students mentioned a gypsy setting course that she’d been to, I think in Oxford. Ideally I’d like to be able to go back to Cathy’s evening classes, but at the moment my budget won’t allow a whole term’s worth of sessions plus materials. Time to clear a suitable space, and be brave about firing up the blowtorch at home, perhaps!

